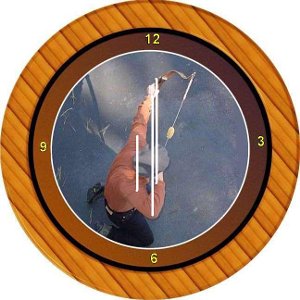
Step 4 of the Eleven Steps to Archery Success by Tim Strickland (consultant to NASP).
1. The life-line of the bow hand should be centered over the grip of the bow. Start this by allowing the lifeline, where it comes to the wrist at the heel of the palm, touch the center of the grip.
2. The knuckles of the bow hand should be on a 30-45 degree angle. This pulls the bottom fingers off the back of the grip a bit.
3. The hand should be relaxed which means lightly touching the back of the grip -- drop your hands to your side and relax -- look at the fingers. They will be curled towards the grip. By lightly touching the grip your mind "knows" you have the bow and you won't grap (torque) it.
4. To allow skeletal structure to support the bow throughout the shot instead of muscles which fatigue and can promote variation, the wrist should form a "L" shape. Most would call this a low grip. This "L" allows the grip to be supported by the bones in the forearm instead of muscles. Very repeatable. You don't have to have a low-wrist bow to do this -- all my recurves are medium grips.
One of the ways to learn to set the knuckles on a 30-45 degree angle is to fold the pinky and next finger into the hand. This forces the knuckles into the proper angle. You can keep this grip or, once you get the feel, unfold these fingers and let them rest on the grip.
Many people have been taught or otherwise learned various ways to shoot. Not all great shooters shoot the same. However, many potentially or even once great shooters have quit archery because they didn't learn the best way to shoot. There aren't 50 best ways to do a thing.


