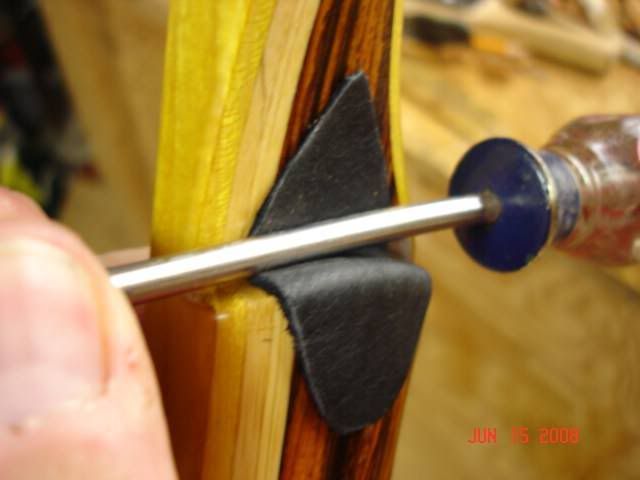
When both bow and leather has dried for a couple of minutes, and is no longer wet, it's time to apply it. I start my sticking the top point and rolling down the strike plate with a small shanked screw driver. The screw driver makes it seat well in the corner of the shelf.
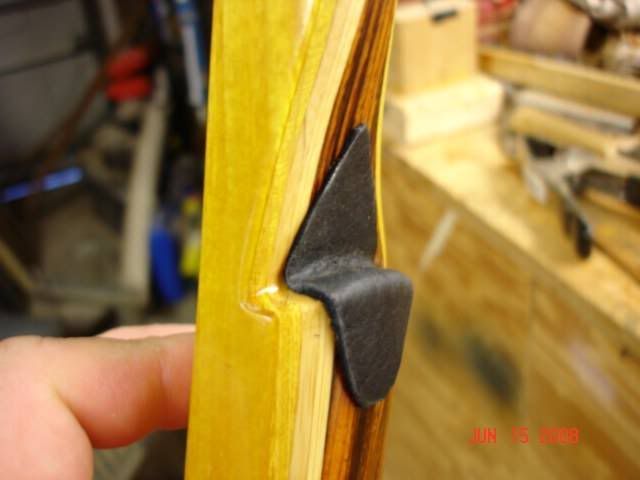
Now it's time to apply glue to the belly side of the bow where the grip will be. I only apply about a 1" wide strip to the bow and then to the leather. I just want some glue to keep the grip from shifting under my hand when shooting. Align the index marks top and bottom, and glue her on. I forgot to photo graph that part.
Now for the stitching. I use two curved needles and about 36" of heavy nylon leather sewing thread. I start at the top like this, and then stitch my way down, always making sure I stitch right over left. I am constantly pulling and stretching the leather to make sure I don't have to tug too hard on my stitching holes. It will be a stretch fit, so you have to tug as you stitch. It would really help to have an extra hand here, but not necessary.
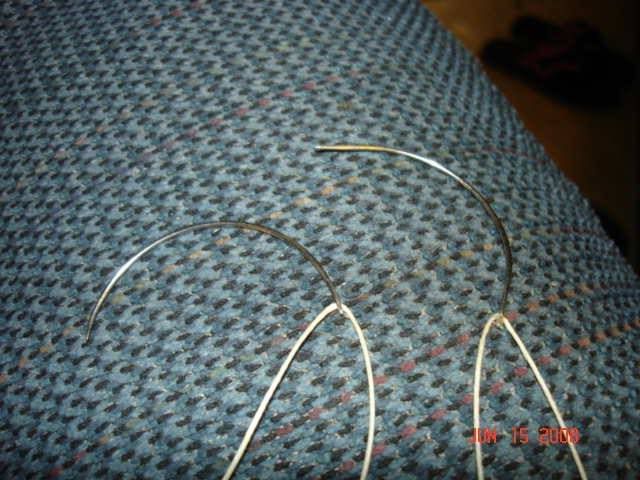
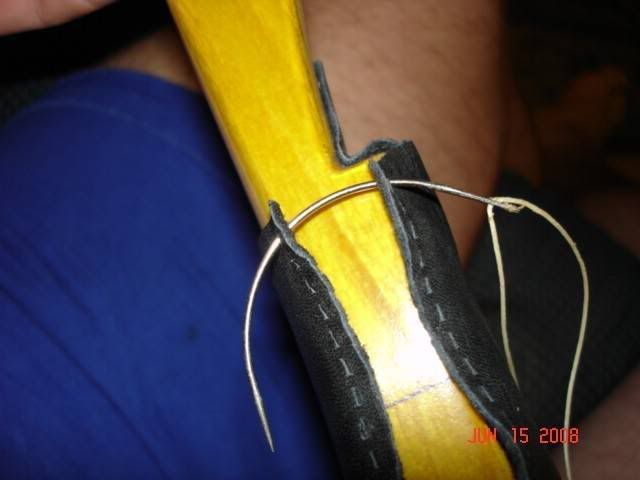
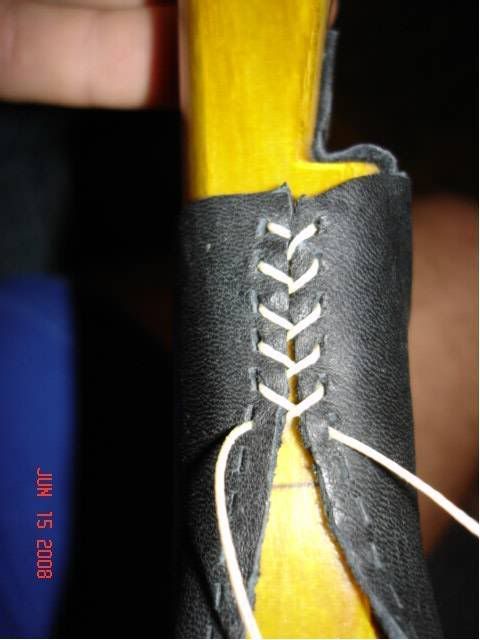
When I get to the bottom I tie one half of a square knot and check my stitches. If they are not tight, or the leather is not seaming well, I will use one of the needles to pick at the threads from top to bottom, pulling out the slack.

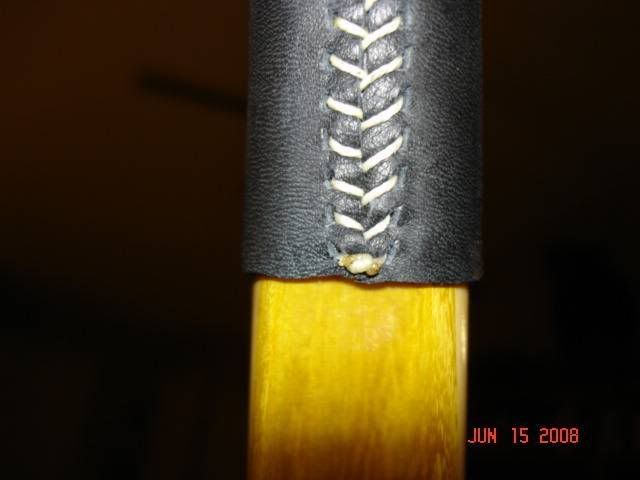
I then finish the square knot and trim to about 1/8" from the knot. I then take a lighter and burn the ends. If you leave the tag ends too long they will burn down, but will turn black. If you burn a very short piece they just turn into little molten nylon balls that are not unattractive.
