Scott, here's your online tutorial for how to slot a guard with a mill.
I have threatened to do this tutorial a hundred times and I just decided to do it.
I'll have to work later tonight now, so you owe me one hell of a fishing trip.
As important as anything else is that your guard shoulders be perfectly square, and that your ricasso area be even from top to bottom.
Personally, I flatten my ricassos on a granite lapping surface plate by hand until they are under .001" in deviation and both sides are parallel.
This is something that you've got to get in your mind if you want to make the best knife possible, and I've gone over this with another member here over and over and over:
"Slower = better. Better = faster."
In other words, take your time doing things right in the first place and it saves time down the road. Every time.
It seems like things are just dragging, going too slow, but in fact, you are saving yourself time later.
Just get that in your head now and it'll save you lots of headaches later.
First you must mill the SIDES! of your guard material flat and parallel so they sit in your mill vice level and perpendicular to the axis of your mill.
Scribe a line down the center of the guard material on both sides if it's any more than 3/8" thick. With normal 1/8" end mills, you can only mill up to about 3/8". Otherwise, you'll get too much deflection of the end mill if you try to go deeper. With 1/2" guard material, you will need to mill 1/2 way through from each side.
When you scribe a line down the center of the material, do it from the SAME SIDE of the guard as the reference point.
As well - now this is important!!! If you have to mill 1/2 way through from each side, make sure that when you flip the guard over, you flip it from end to end, and not rotate it side to side.
You always want to keep the same side toward you so that your slot is being cut the same distance from one side.
Your face of the guard must be fully finished and scratch free before you slot it. If you try to do any severe stock removal or sanding of the face AFTER you mill the slot, then you'll round down the edges of the slot.
That's not good.
There's a lot of work to be done even before you start making your slot!
But keep this in mind - I have gone through these steps, which takes about 45 minutes or more. Then, walked over to my knife, and slid the guard in place. Boom. Done. Fit time - 10 seconds.
So, how do you want to spend your guard fitting time?
Filing and fitting and cussing and beating with a hammer and files, or standing in front of your mill drinking a cup of coffee and listening to the radio?
Once again - "Slower = better. Better = faster."
Clamp your guard material in the vise and have the tops and bottoms of the slot marked.
Get the mill to the center line and clamp your table-in-out axis. Set a dial indicator on the back of the table and set it at zero. This is for in and out.
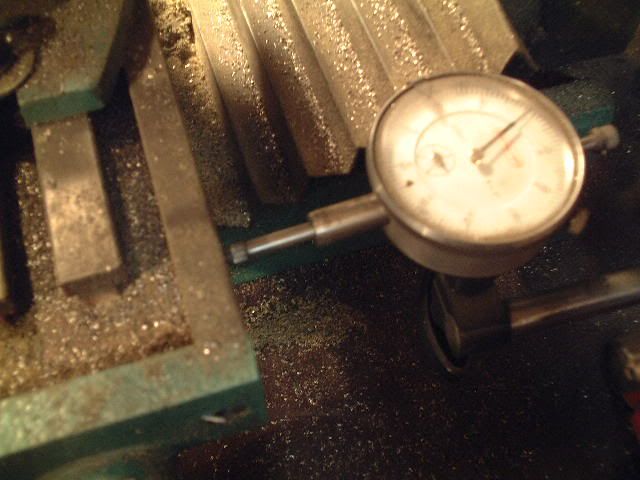
We'll get to that later.
Slowly work your end mill to the top line of the slot and just touch the guard face.
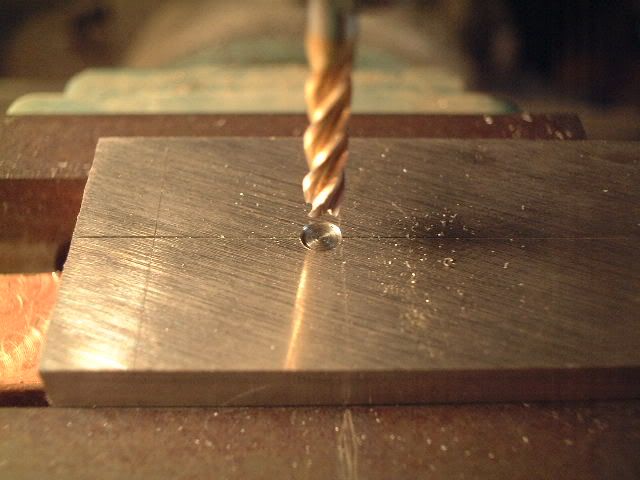
Now, crank you left-right axis to about 1/3 the diameter of your end mill and lower it down to cut the next hole just a tad bit deeper.
Repeat.
Repeat.
Repeat.
Do this until you have stair-stepped your way all the way to the other end.
You have either gone all the way through your thin guard material, or 1/2 the way through you thick guard material.
You will.have to set a depth stop on your thick material.
It will look like this:
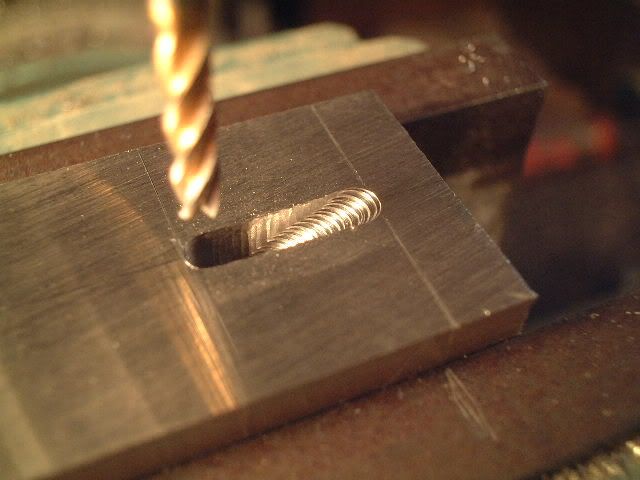
Now go in reverse and chew out the stair steps going the other way, 1/3 of the end mill at a time. When going backwards, you are either going all the way through, or all the way to your depth stop of the thicker material.
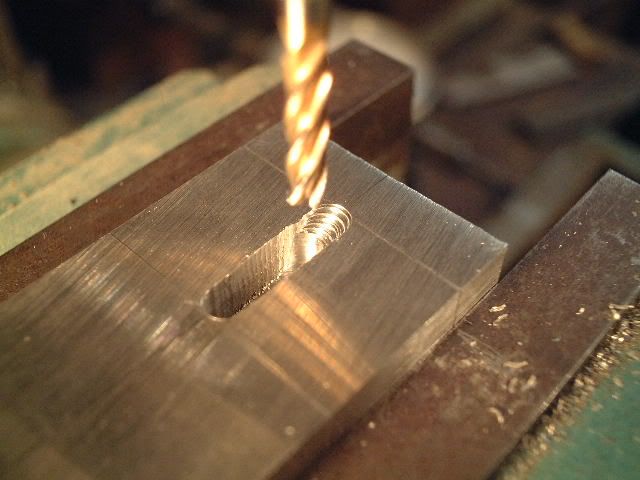
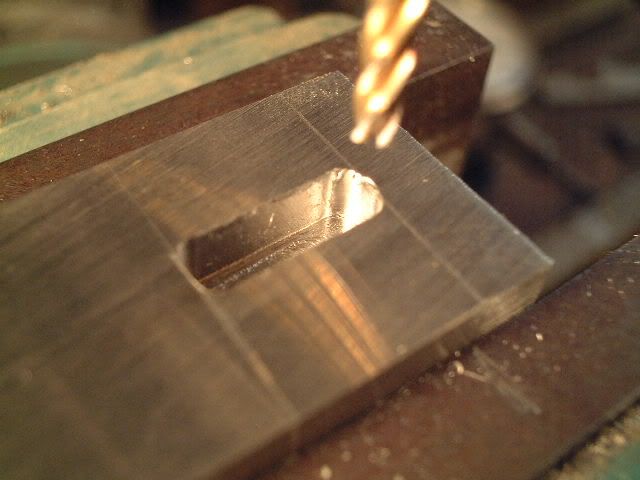
I set carriage stops with clamps on the table to stop me at the end of each left-right pass so I don't break my end mill.
By the way, I haven't broken and end mill in over two years.
Now, here's the critical part:
Measure the thickness of you ricasso.
Let's say it .250".
My 1/8" end mills are .123".
Consider that you have just removed .123" of material down the center of you guard.
You want a slot that is .250" wide, which means .125" on each side of that center line - right?
Right.
You have sent an end mill down that line removing .123".
That leaves .127" material to be removed.
.0635" in both directions - 1/2 either way of the .123" slot.
That's where that dial indicator comes in.
Loosen the in-out axis table clamp.
Lower your end mill into the slot and clamp the column in the down position.
Crank to one end of the slot.
Crank your in-out axis - watching you dial indicator - about 2 1/2 thousandths.
Crank to the other end of the slot removing that 2 1/2 thousandths.
Crank in or out to the other side of the slot, 2 1/2 thousandths and remove this all the way to the other end! Making usre that your end mill is cutting INTO the material.
Now, go back to the other side cutting in ANOTHER 2 1/2 thousandths, back and forth, gradually eating away and making the slot wider and wider until your dial indicator reads .0635"!
Piece of cake.
Now, this is why you ricasso needs to be flat, even and parallel.
Because you guard slot is.


