Author Topic: Tips on re-shaping a grip  (Read 608 times)

Offline Leo L.

  • Trad Bowhunter
  • **
  • Posts: 685
Tips on re-shaping a grip
« on: May 29, 2009, 07:07:00 PM »
I've got a 1993 Martin Hatfield T/D.  
The grip has always been too fat for my hand.  Or so I think anyway. It just doesn't fall into place like a lot of other bows do.  I'd like to get some sandpaper and slowly re-shape it to fit my hand better.  Before I dig in, I'd just like some tips on what not to do, and how to do it right...including re-applying a finish.

Offline blueslfb

  • Trad Bowhunter
  • **
  • Posts: 351
Re: Tips on re-shaping a grip
« Reply #1 on: May 30, 2009, 07:03:00 AM »
I am not an expert but I have re-shaped a few grips. You have it right, go slow and I do it all by hand.  Once the wood is gone it is gone.  I found a flexible rasp works well for the contours of the grip. Try and stay away from the edges of the glass if you use a course metal rasp b/c you could lift a splinter in the glass if you are not careful. I have used poly sprays and Tru Oil to cover the areas that I have re-worked.  Both have worked just fine. I am sure someone else with way more experience will chime in with more and better tips. Good Luck!

Offline Pennsyltuckey pete

  • Trad Bowhunter
  • **
  • Posts: 301
Re: Tips on re-shaping a grip
« Reply #2 on: May 30, 2009, 10:35:00 PM »
Leo,

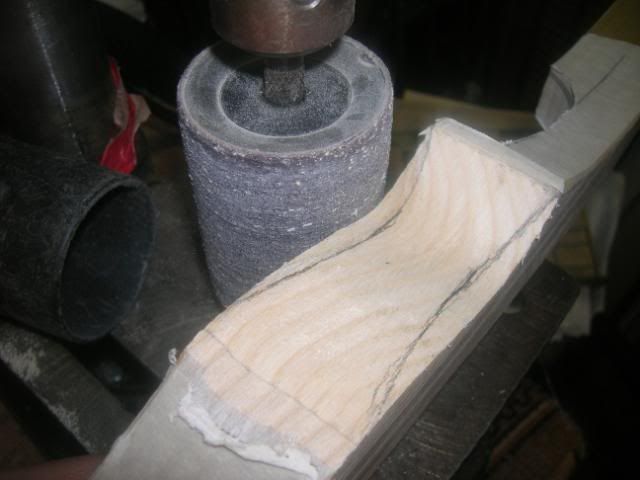
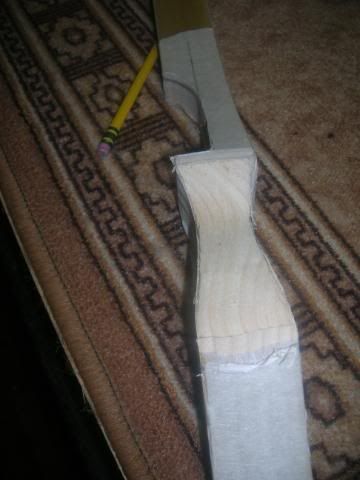
Like blueslfb said go slow and stay away from the glass!. What I do when working risers is put two layers of quality masking tape on the face and edges of the glass.  When I nip in to them with a rasp I replace them immediately.  Also if ya do nip the glass use thin cyanoacrylate  (super glue) to mend the edge.  

Before you begin I would strongly suggest that you develop a plan for what you are going to do.  If you have a grip that you like look at it and see what you can do to bring the martin in to a similar or identical shape.  Mark the grip out with a pencil and slowly rasp material and then try your hand on the riser.  It is amazing how little material it takes to make a major change in how the grip feels.  What I have done is colored the area I wanted to remove with pencil, remove it all,  try the fit, mark what I wanted gone and just repeat the process.

As far as refinishing I would refinish the entire bow when I was done.  I like to use brush on minwax helmsman first,  When I get the finish built up where I want it I apply the last couple of really thin coats with a spray gun.

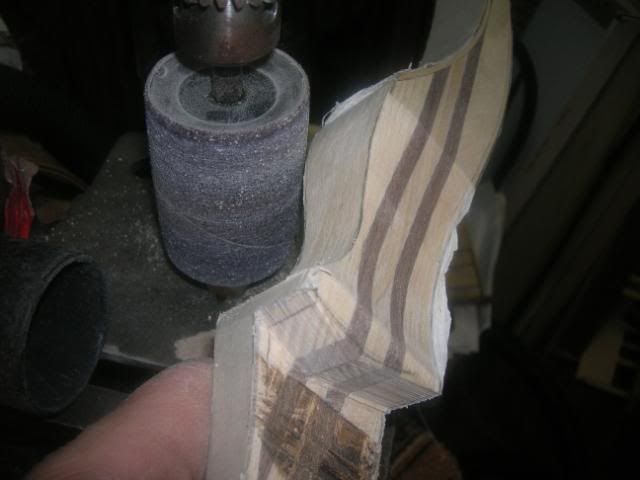
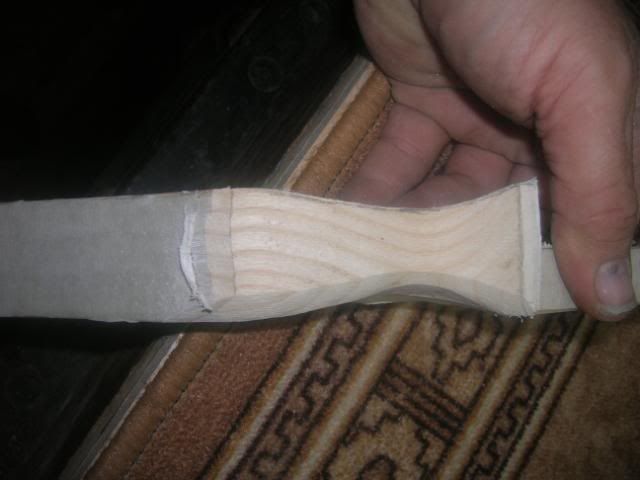
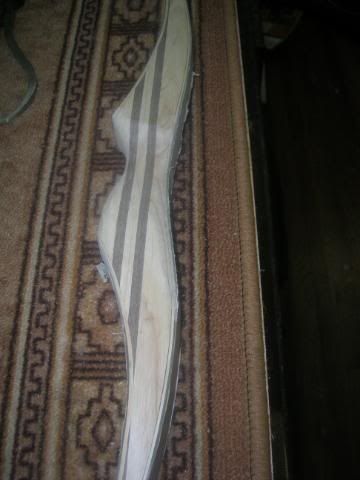
Here is a couple of shots of a riser being completed.  You are doing the same thing just starting a little further along in the process.
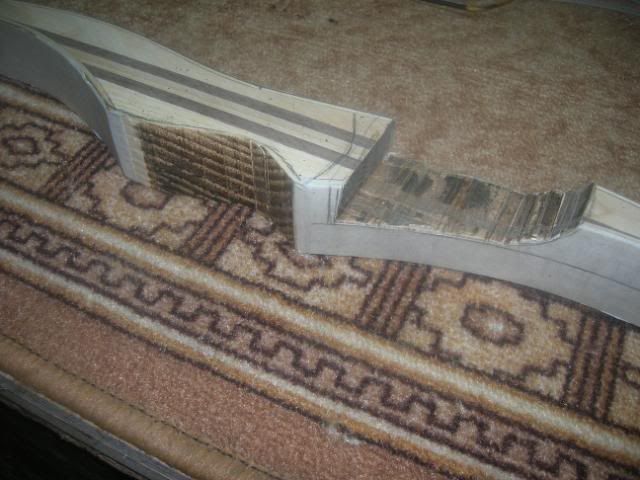


when you are close to the glass on the edge always make sure that you file from the glass to the wood.
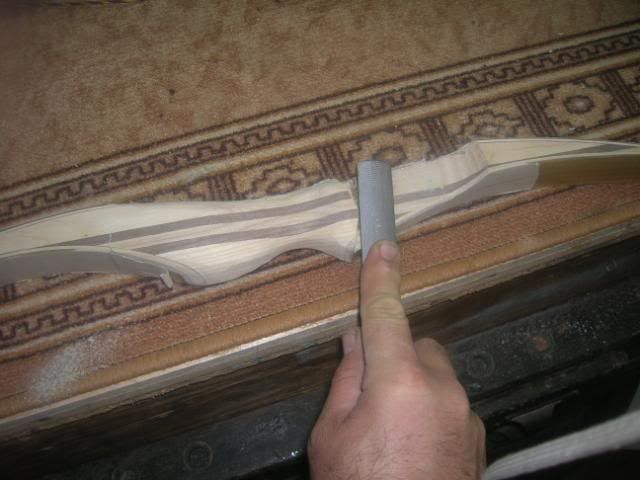
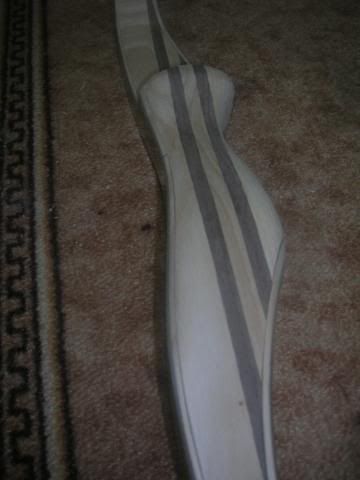


After you have the riser where you want it start with sandpaper and bring it in from 100 grit to 400.I hope this was helpful.
 
pete
Love one woman, Many Bows

Offline UnderControl16

  • Trad Bowhunter
  • **
  • Posts: 297
Re: Tips on re-shaping a grip
« Reply #3 on: May 31, 2009, 11:18:00 AM »
Nice stuff Pete, I don't know about Leo but i know it helped me figure out how to shape a handle.

Offline Leo L.

  • Trad Bowhunter
  • **
  • Posts: 685
Re: Tips on re-shaping a grip
« Reply #4 on: June 07, 2009, 06:22:00 PM »
Cool, good stuff.  It's a takedown so there is no glass in the handle area.

Users currently browsing this topic:

0 Members and 1 Guest are viewing this topic.
 

Contact Us | Trad Gang.com © | User Agreement

Copyright 2003 thru 2024 ~ Trad Gang.com ©