Good day everyone, It has been a while since I’ve posted anything on here but I figured that since so many people have been asking me what I’ve been up to and asking what all goes into making laminate bows I would simply make a build along thread and could just send people to this to look at.

While I have not been posting much hear lately I have still been haunting the threads and noticed that as usual there have been a lot of posts about how much it costs to make a bow and what tools are really needed. As a result, I will try to answer those questions also to the best of my ability and obviously with respect to my methods and skill level that is nowhere near a lot of the people on here.
The photos that I will be referencing throughout this build-along where taken over a month and a half and six bows, as a result many changes have taken place and I have not taken photos of all of them so bear with me if the “captions” do not quite match what is shown.
So let us jump in head first with the basic tools I used- (I will do cost after the listing and will simply say when I use them during the build-along but not now.
First, what I call the heavies, we have a 10” table saw, shop vac, 12” planer, 36” belt sander, and a 12” band saw.
In regards to costs for them, I have been table saws for 100$, planer was 70$, 36” was 40$, and the band saw was 60$, and if you do not have a shop vac already I am guessing you could find one for 20$. Mind you, these are all second hand prices which some of my stuff is and is not.
This comes to 290, so let us say 300$.
Secondly, are the handle tools. We have a broom, clamps, calculator, hammer, files, scissors, two boxes of 2 ¾” screws, one box of 1 ½” screws, aluminum foil, staple gun or tacks, calipers, 18” belt sander and belts, drill, drill bits, drill flutes, tape measure, hacksaw, light fixtures and bulbs, nonskid padding, saran wrap, smooth-on, heat tape, container, yardstick, and plastic spoons.
I am going to assume that most of these are things that people have lying around the house and as such, I am only going to do the cost of the ones that are specifically important.
As such, 2 ¾” screws 10$, 1 ½” screws 5$, calipers 20$, drill bits and flutes 10$, and smooth-on 30$, and lastly the belt sander and belts at 25$. This comes to 100$ so we are now at 400$.
For wood, I started with hickory, hard maple, and white oak for the bow wood. Each of these was about 15$ and 1-1 ½” x 8”x 6’. It looks like I will be able to make 12-18 lams from each one using the table saw. Also needed is a 2x8 6’ pine board, a 1/2”x 4’x8’ plywood and five 6’ 2x4s. These came out to 5$ 5$, and 8$ respectfully so know we have a cost of let us say around 450$. The rounding to include anything else that you might have to buy like belts or you cannot find something as cheap.
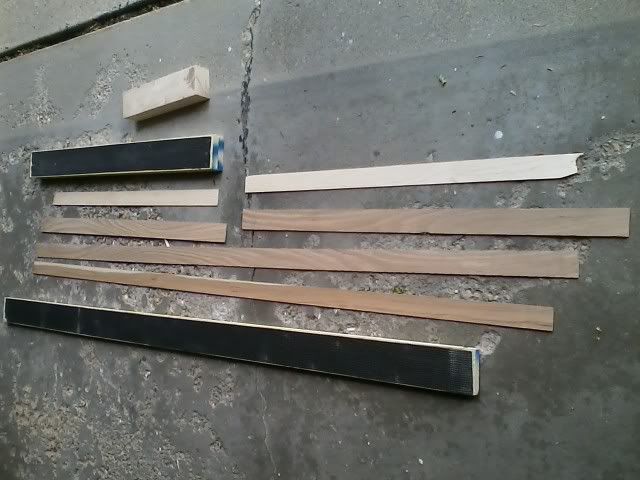
Ok so now that we have that all sorted out let us get started on the fun part, not that shopping for tools is not fun.
Let us start with the hot box.

Mine is a very simple one. After all it’s only goal is to provide an environment for the bow to cure between 150-180 degrees F. The plywood sheet I ripped into four 1-foot strips and then cut a foot off each one to use at the two ends. Then the other two-foot squares I diced up and used to brace the corners of the box. I then stapled three of the strips with foil and screwed them together. On the top strip, I ended up putting three light fixtures and 100-watt bulbs. I also had a fan lying around that put on the inside to keep the air moving and potentially make sure the box stays the same temperature throughout the inside. I then wired it up to an old plug that I had lying around.
Next, we will start talking about the form. I did not mention in the start that I got a r/d design from Bingham’s and that is what I am making with this form.
There are many different types of forms that are used, mainly varying in how the pressure is applied. While I was thinking about how to make mine and what style (air pressure vs. rubber bands/clamps), I decided to try is something new, all screws. In most of the pictures that are going to be posted, the form there will look differently than the one below, which is the new “prettier” form that I made.
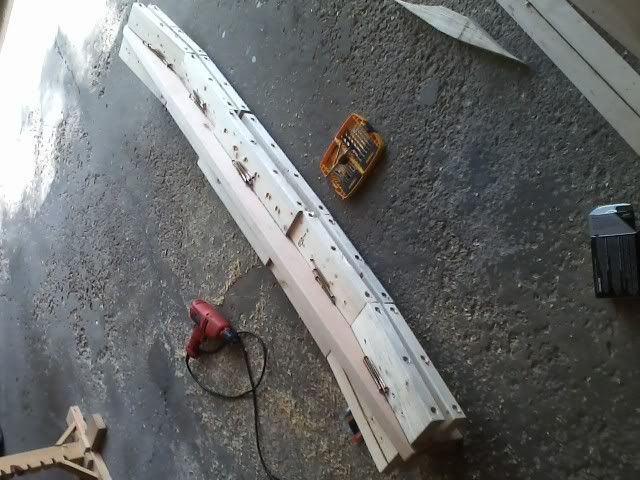
Here you can see the old form in the bottom left corner and the new one in pieces in the center.

The first step is to take the 8” board and trace the template onto the form and then cut it out with the band saw.
Then take the 2x4s and cut them into five pieces each. This part will vary with each template because the boards need to be at the right angles so that the top and bottom pairs are parallel and do not “hang off” the half it is on. With my form, there was a ½” gap between the “clamps” or so, more by the handle. On the 2x4s I counter bore drilled three holes into the sides of them about an inch so and then screwed them into the form that the 2 ¾” screws will sink in at least an inch into the form otherwise they will pull out when “clamped”. Then on the top I drilled four holes into the top form piece so that the screws and easily pass through the, (the threaded part) and then put a screw with a washer into each one.
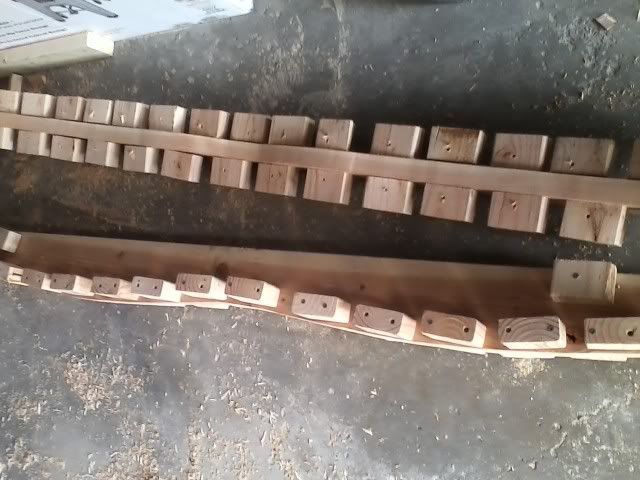
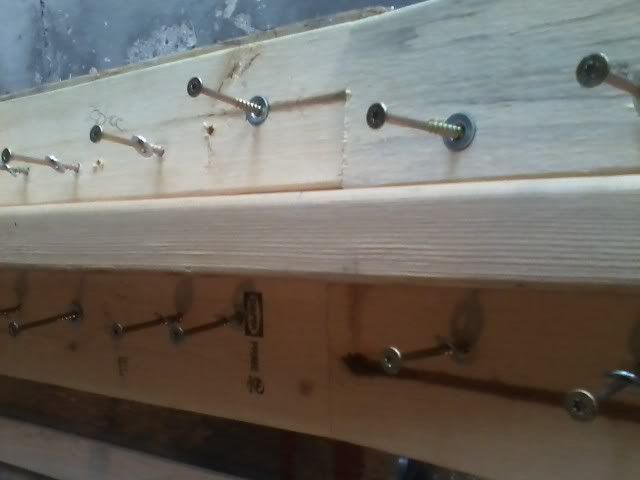
The form then is clamped by simply drilling the screws into the bottom boards on either side. Since the screws are able to wobble and so they do not screw into the same place typically and can keep up uniform pressure. I have found that this way is more than able to get the glue lines thin enough for me.


