So this is kind of a quick build along for a little vacuum chamber for coloring or stabilizing wood for accents. I'm only assuming that this works, since this is my first one, but so far things look good. I guess the proof's in the puddin', and I'll find out tomorrow when I cut into the piece I'm dying.
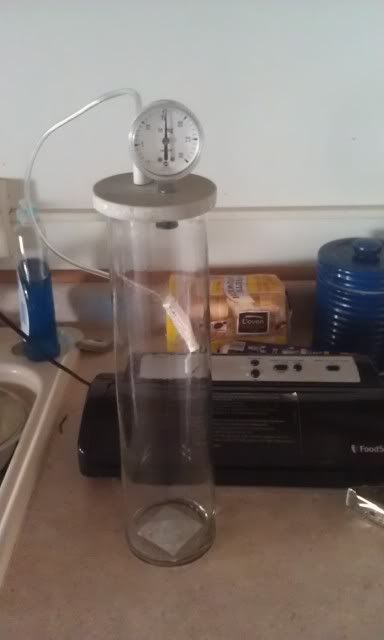
So here's what I've got. I found a tall glass vase at a local store for the chamber. I wanted something skinny and tall so it would fit the pieces I need, but also not take a ton of wood hardener and dye to fill. This one is about 3" diameter and around 16" tall.

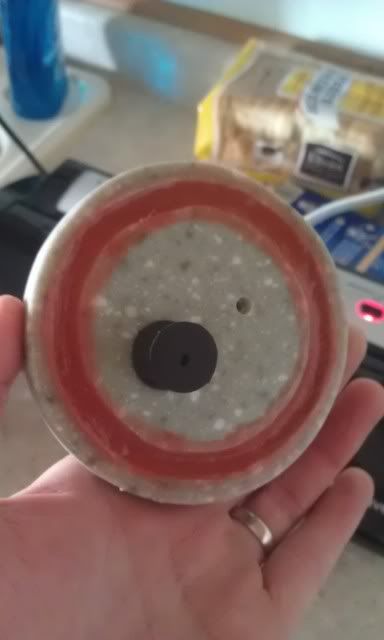
For the lid I used a piece of corian that I cut a groove in with my dremel because I don't have a router. It fits the lid nice. Then I filled it with RTV silicone, smoothed it out all around, and let it sit overnight to cure. This made a real nice gasket to seal onto the glass edge.

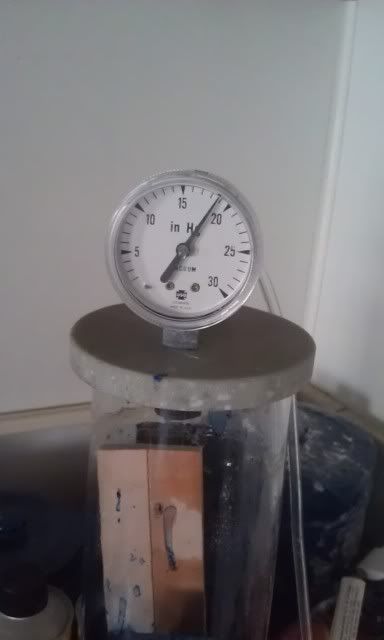
My vacuum comes from a food saver with a canister port. The gauge is from a pressure cooker. I've gotten the food saver to pull about -19 psi, but that's about it. It should probably be closer to -25, but take what you can get, right?
Here's the vacuum with everything in it. I poured in two cans of Minwax wood hardener, and one bottle of Rit dye (royal blue).

After I pulled vacuum, I pinched off the line and clipped a pinch clamp on it to keep the vacuum, and it has now, for about 7-8 hours. I'm not really sure how long it needs to be in there. This is all kind of an experiment for me too. A couple hours is probably good, but I tend to overbuild everything anyway, so what's another 6, right? I'm going to take them out before bed and lay it on a piece of butcher paper to dry overnight, then cut into them tomorrow to see if it pulled all the dye into the center of the wood. So I guess I'll pick it up there tomorrow!


