I've been watching all the threads concerning the different styles of pattern sander with amazement.
Some are way above my pay grade. Others look like they would work, with limits.
Well after watching and wondering if I'm the only one that thinks outside the box I broke down and decided to show off mine. I've been using this style for years.
Simple and low cost. This is my third one over a twenty something years of using this design. Yea they will over time start to show wear and that's when I scrap the old one and build another.
If you have an osilating (sp) sander there is no need to remove anything. Just add this setup to it and go to work.
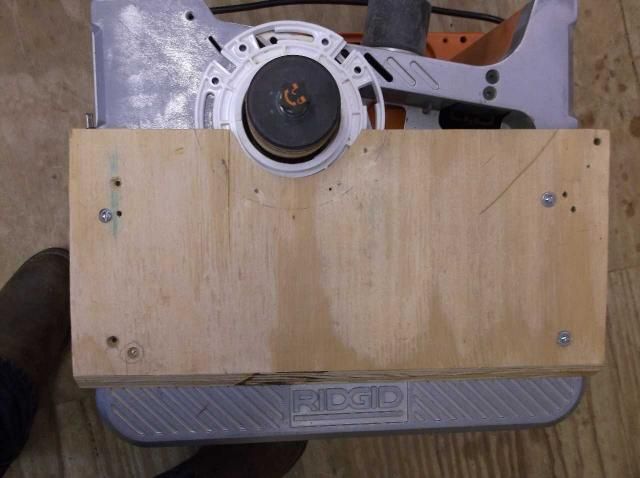
Here is the overview look:

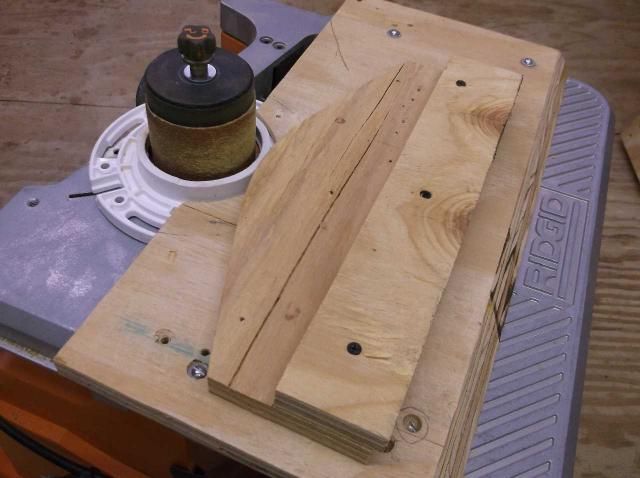
At a slight angle for a better understanding:

As you can see it's about as simple as anyone can ask for. A piece of plywood and a PVC toilet flange. I routered out the plywood to except the flange. Then added a few screws to hold it in place. Afterwards I ground off the screw ends so that they wouldn't be in the way.
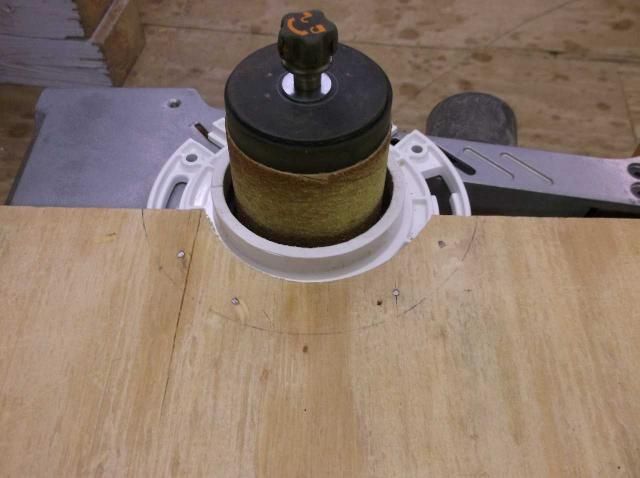
One thing to add. Before adding the screws, cut the pipe part of the flange to the desired length. I cut mine about 1/2" above the plywood. That's plenty for the edge of the gigs to rub against.
Next make sure to center the pipe an close as possible around the spindle drum. Then clamp in place until you feel good about it's placement.
Once I know it's right I then bolt it to the sander table.
After setting the gig on the attachment you can see that the piece to be sanded will need to extend past the edge of the gig approx. 1/2" to be able to touch the drum. Slightly more will allow for a clean cut.

All you have to do for the gig is decide how you want the sanded area it to look and sand it smooth. All I need to finish this gig is to add the toggle clamps for holding the material in place.


