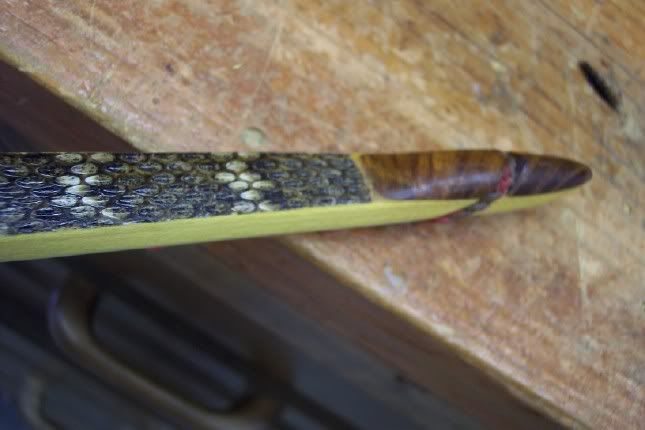
I did 4 overlays yesterday, here is how I did it.
I like my overlays long and flowing. I have my string nocks 1" from the tip of the bow and start the overlay 2 1/4" from the tip. I measure down from the tip 2 1/4" and make a mark across the back of the limb. I flatten this area with the disc part of my combination belt-disc sander.
I am careful not to make a step at my line and also cut the flattened place not parallel with the back but at an angle to the belly, about 20 degrees. This way you don't have a huge hump on the back of the bow in the form of an overlay. The pic shows the angle of the cut.
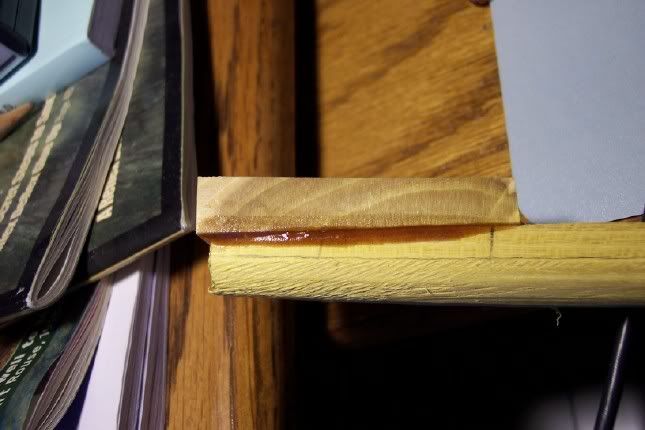
Next I take my stave to the vice and work on my flattened area with a file and finally a sanding block to straighten out the cut from the sander. The sander removes a lot of wood but does not give a good mating surface.
While I am filing and block sanding I hold my overlay piece in place on the limb, hold both up to the ceiling light and check the fit. Any gap in the mating surface will let light through when viewed from the side. I glue the overlay on when I am satisfied with a good fit between the overlay and limb.
The 2/14" overlay sounds awful long but looks pretty good after it is shaped to a nice flowing shape. This one is osage burl.
