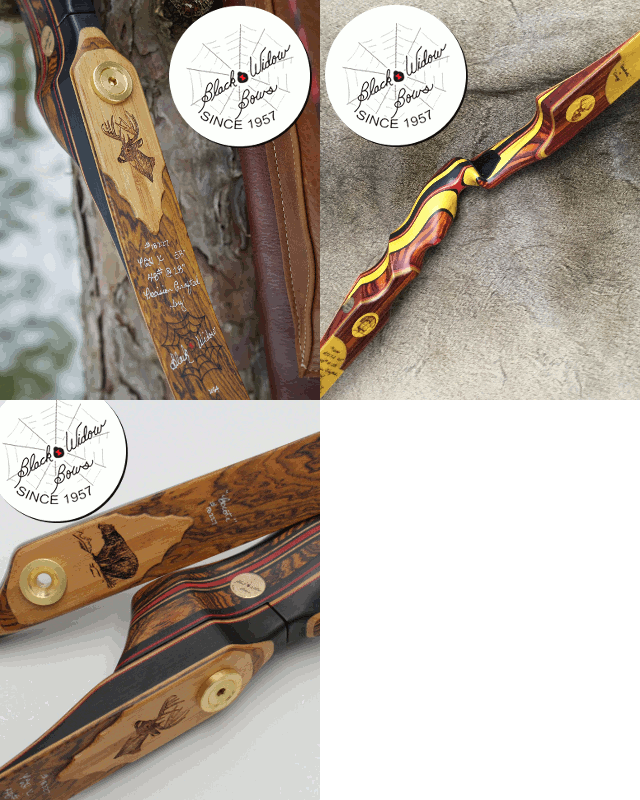
Hey, all. Some have asked me to update this buildalong with some of the information I've provided them in pm's. So, here's a few more bits of information that may be helpful to you. Also, I KNOW there's a lot of bows that ya'll haven't posted here that I've seen in pm's and e-mails. Don't be shy and post them on here so all can see!
1) To increase the working length of the limbs and reduce the static riser area, make the center mark as usual and then put a mark 2" and 4" on either side of that. That will give you two marks that are 4" apart that locate the end of the fades and two marks 8" apart that locate the beginning of the fades. By allowing more limb to work, you can:
A) slightly increase the draw length to 29"
B) reduce set
2) By backing the bow with a simple backing of brown shipping paper (i.e. grocery sack paper on a roll) you can add insurance and possibly draw length. I buy this type of paper at Target in their mailing supplies. You can back a bow with paper before or after tapering the limbs to profile. You can also add it to a finished bow, provided you removed the finish on the back so the glue can properly adhere. Either way, it's easiest to apply BEFORE you round the edges of the limbs. Here's what I do:
A) Cut two strips of paper that are 2" longer than half the length of the bow and 1" wider than the profile of the limb.
B) Using Titebond II or III, spread a very thin layer of glue over the entire back of the bow. When it dries, lightly sand it. This sizes the back. To size the paper, lightly DAMPEN (not soak) it with a sponge.
C) Beginning at the center of the handle and working toward one tip, spread a thin, even layer of glue over one limb. It doesn't need to be very thick, as that will cause problems. However, cover every square inch of the limb.
D) Lay the paper on beginning at the center of the handle and then gently lay it down along the entire length of the limb, being sure to keep it aligned.
E) Using your fingers, gently work the excess glue and air bubbles out bow rubbing toward the tip and edges. Be care, as you can rub a hole in the paper pretty quickly, especially if there is any glue or moisture on your fingers.
F) Next, use a smooth, round object such as a glass tube to further work the glue and air bubbles out in the same fashion you did with your fingers.
G) Repeat for the other limb.
H) Once dry, you can stain the paper if you'd like. Doing this now will allow you to leave the wood natural (see first two pictures below).
I) Using a file and sandpaper, simply round the edges of the bow, thus removing the excess paper.
Here are some pictures of a few bows backed with stained brown paper:


3) A third update is that hickory is most suited to this project. Many guys have asked as such. It you can find a fairly straight grained piece, have at it! Hickory will take a beating and come back for more. You can make it shorter and narrower than the dimensions given in this buildalong, although if it's your first bow I'd start with those given and work down from there. There are two things two be aware of with hickory, however:
A) Make sure the belly is perfectly flat. Hickory is weak in compression and crowned belly will concentrate the compressive forces along that crown leading to fretting.
B) Keep the wood dry. It is notoriously prone to soaking up a great deal of moisture. This will lead to sluggish cast and excessive set.
4) Lastly, in order to give your bow hand more room, you could consider shaping your riser like the following pictures. In doing so, you should add another layer of wood to the riser. That is necessary because as you thin the riser section, you must be sure to compensate by adding thickness.


