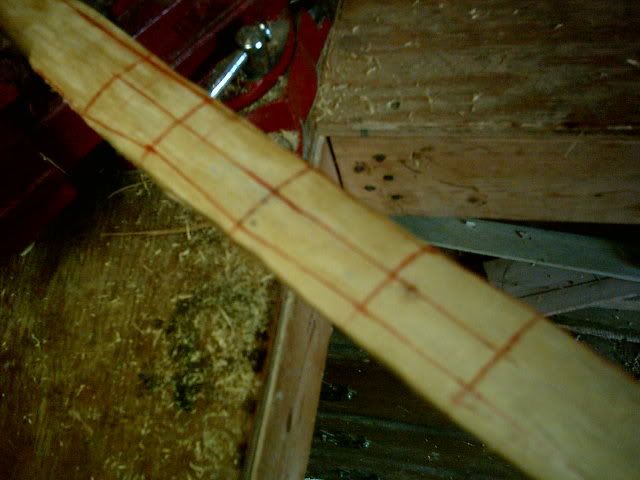
The osage being the worst of the two staves, I am going to have to go at this one with a different method. This is the type of stave that tells me what kind of bow it will be.
My luck a wall decoration!
Using the the same procedure as above for the handle, I mark the stave all the way around at the center end of handle and end of fades.
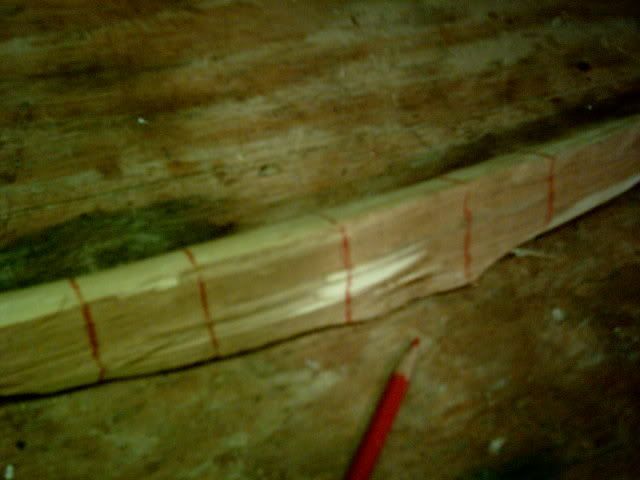
Using the string again, I line up the ends for a straight center line and mark the tip at center. I won't use a center line from end to end on this one, and the limbs will curve a bit to avoid the areas on the back of the stave where there is not enough wood left to work. As you can see,,, It's a little thin for a stave and twisted like a barg prop.

When I had the string on the stave to mark the center of the tips, I also marked the center of the handle.
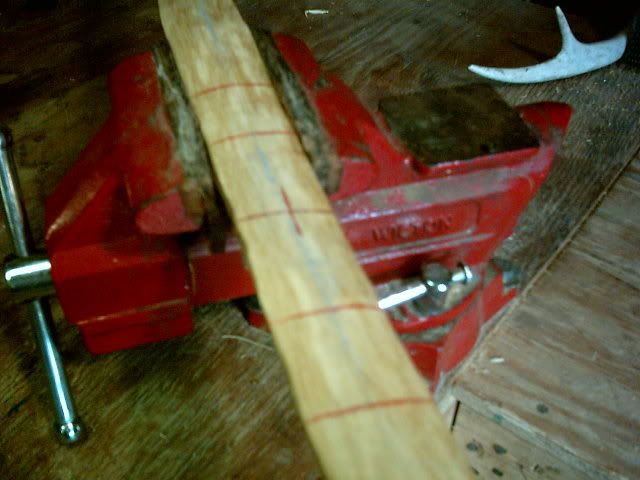
Turning the stave on its side and to the side with the best thickness (most), I use the rasp to get a good edge out to mid-limb. This will be the edge of the finished limb.
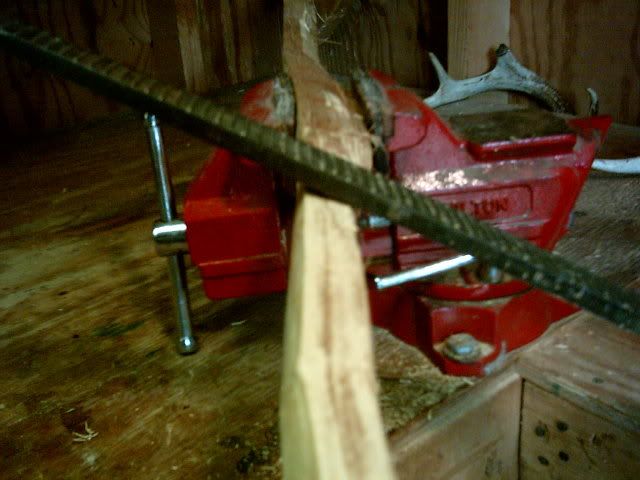
The widest this limb will let me go is 1 1/4". So, I mark this limb at the handle and at mid-limb from the side of the stave I have just worked with the rasp to 1 1/4" wide. I then mark the limb tips at 3/8" wide and connect the dots.

Then I do the same thing on the other limb of the stave.
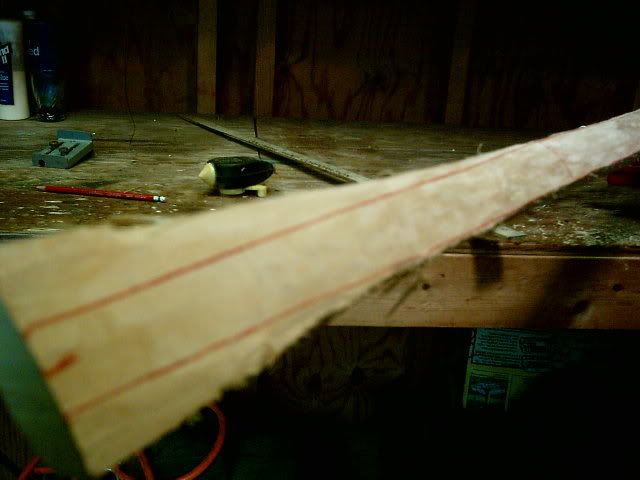
Using the center line I marked in the handle aera when I stright lined it with the string, I marked the center of the hande at 1 1/4", end of handle 1 1/8" end of fade at 1 1/4".
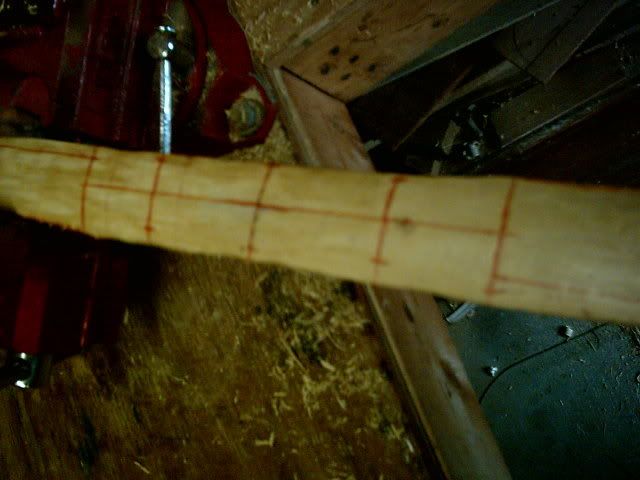
Then I connect the dots at the handle.
Close enough for rural work!
