Knife from a File Build-a-long
The following will show how I make a knife from a file.
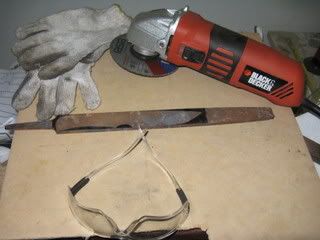
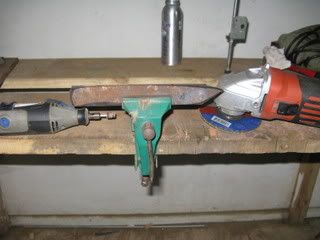
Tool List:
Drill Press with assorted size drill bits
4” Angle Grind with cutoff wheel, sanding disc, and grinding disc
1” X 30” Belt sander with 6” Disc sander combo
Dremal Tool with assorted bits
Wet sand paper in 150, 240, 320, 400, 500, 600, and 1200 grits
Various Files
Vise Grips
Super Glue
Two part epoxy
Sharpie Marker
1/8” MDF
Safety Glass
Work gloves
Micrometers
Hacksaw
Hammer
Center punch
C-Clamps
Water Stone
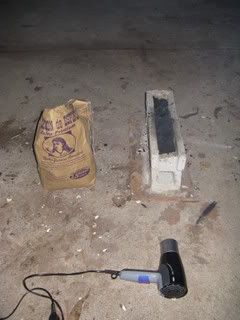
Old File
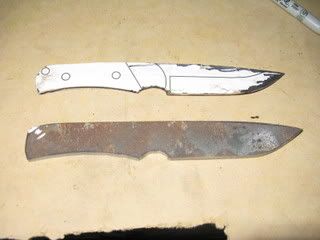
I start will an old file that is large enough for the knife I plan on building. In this case the knife is 8” long with a 3 ¾” blade, 1 1/8” from spine to the belly. The file is annealed in my charcoal forge, by heating it to non-magnetic. Once the non-magnetic temperature is reached the file is then buried in a bucket of hardwood ash. This allows the steel to cold slowly.
I designed this knife with a free CAD program and printed it out.
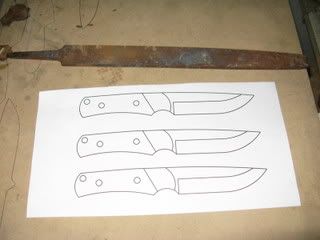
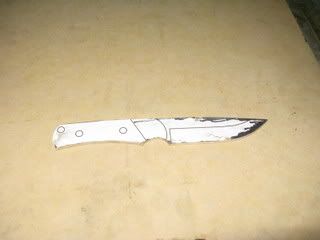
Cut out the print and glue to 1/8” MDF, cut and shape to the print to make a pattern.
Using the pattern outline the knife on the file.
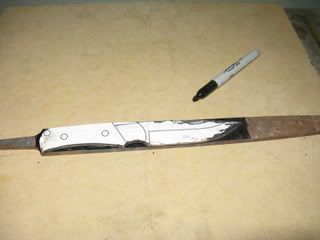

Start cutting out the knife using the 4” Angle grinder and Dremal.


 Topic: File to Knife Build-a-long (lots of pics) ****COMPLETED**** (Read 9063 times)
