I have not posted a new knife project here for some time so I thought I would share this work in progress. I'm making a custom knife and sheath as a donation to the WBH to be used at the annual convention in March.
I thought I would share the steps that go into the making of this custom knife as sort of a build along.
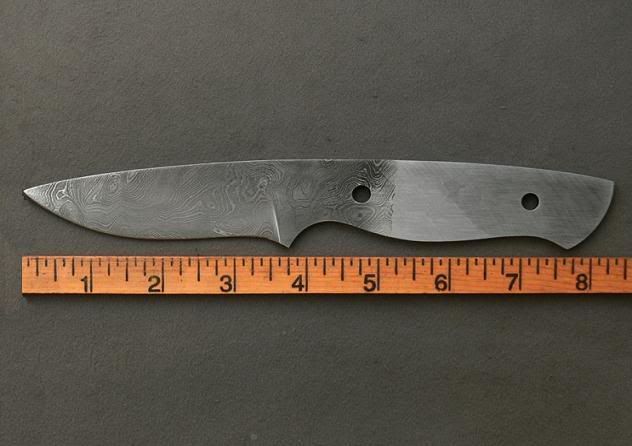
The blade is a drop point hunter and is forged Damascus Steel made from 1095 and 15N20 steels. I did not make the blank but rather purchased it as I do not have the tools or capabilities to make Damascus. I could have made the blank myself from O1 steel like I have in the past but I wanted this knife to unique and special so I went with a Damascus blade with a lot of character. Every Damascus blade is a one-of-a-kind.
The blank is a hefty 1/8 inch thick with a 3 1/2 inch blade and a 4 1/2 inch handle. The blank is mar-quenched and tempered to a Rockwell hardness of 57. This knife is sure to have great edge holding ability.
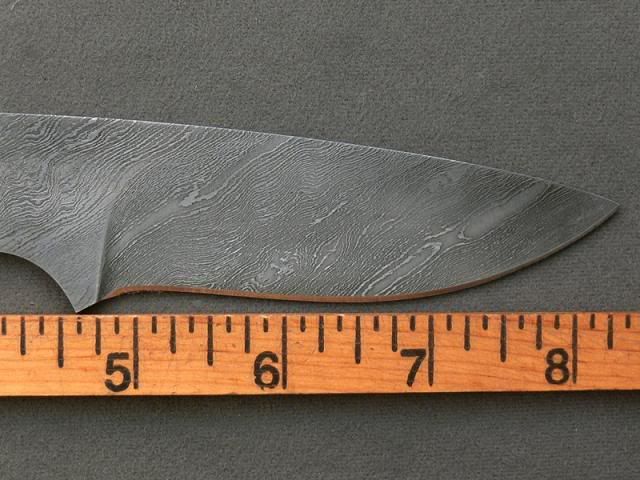
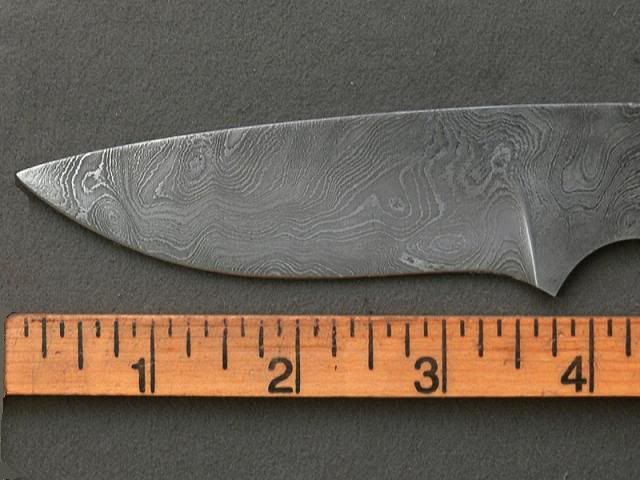
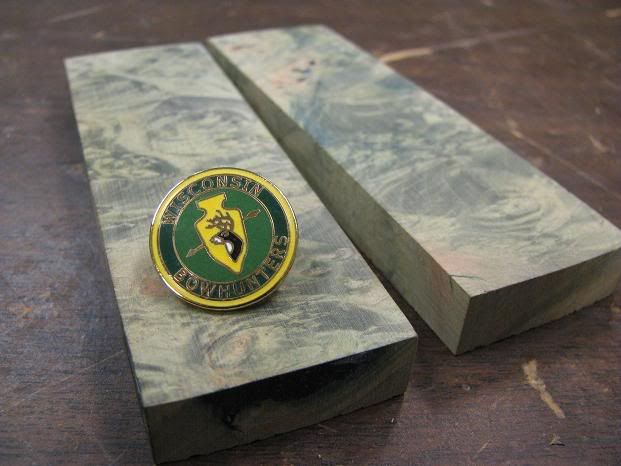
For the scales of the knife (sides of the handle) I wanted to keep the whole idea of the swirling pattern in the blade and in keeping with the one-of-a-kind idea so I am using hard rock maple burl died green (WBH color) and stabilized which will prevent the normal swelling and shrinking that happens to wood.
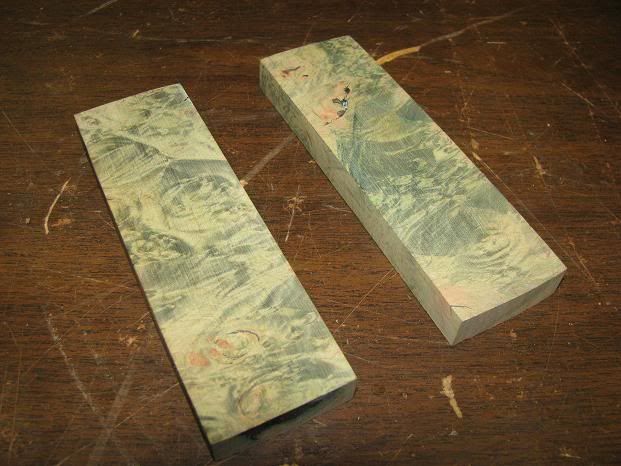
Normally, swelling and shrinking is not a problem with this sort of handle but I want to make extra sure the wood is stabilized because I am going to be inlaying metal and enamel WBH logos into the handle and I don't want the future owner to feel a line where the medallions and the wood meet and I want to make sure the medallions stay put for the life of the knife.
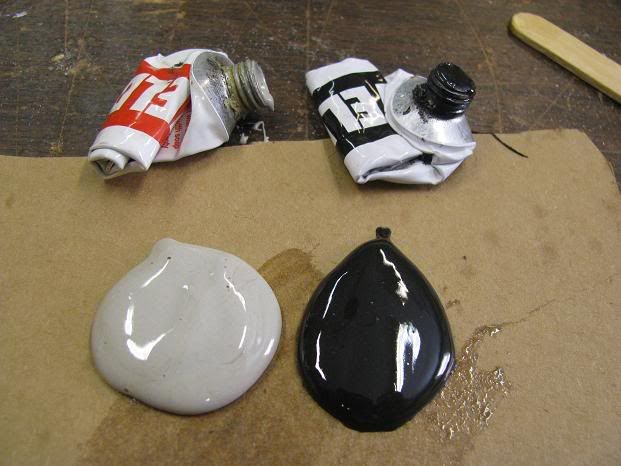
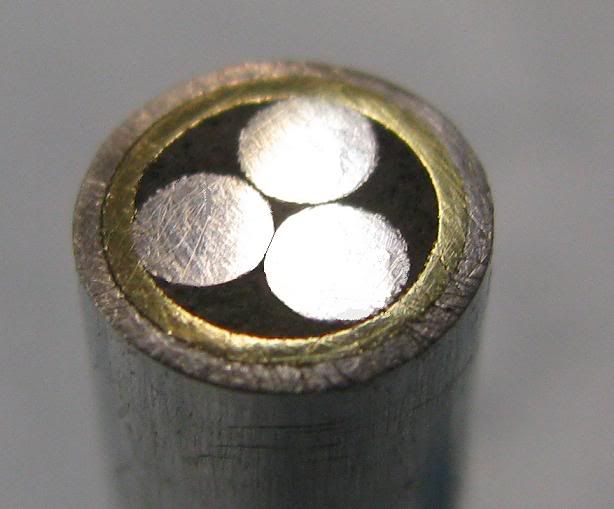
In keeping with uniqueness, I want all the little things to have detail. Rather than using a single material pin such as brass or copper or silver nickle or even aluminum I am making custom pins for the joint between the scales and the blade blank. I am making mosaic pins with an aluminum outer sleeve followed by a brass sleeve and then 3 aluminum pins inside the brass tube. All the parts of the mosaic pins will be held in place with J.B. Weld because I want the black background to contrast with the shiny aluminum just like the black and sliver lines in the blade.
Here they are after the epoxy is set and I ground the end flat on a belt sander.
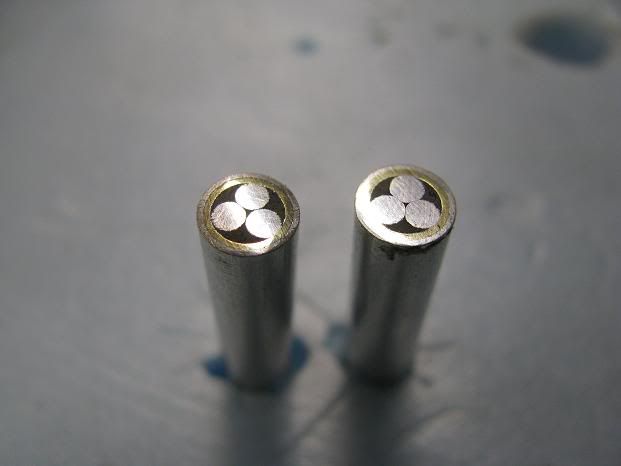
And a close up.
Next up is fitting and attaching the scales..................


