here is a little easy project I made up just for having in my pack for after the basics are done of field dressing...
lots of places that some big game are hunted you just cant drag them out or even get close enough to a tailgate to help...
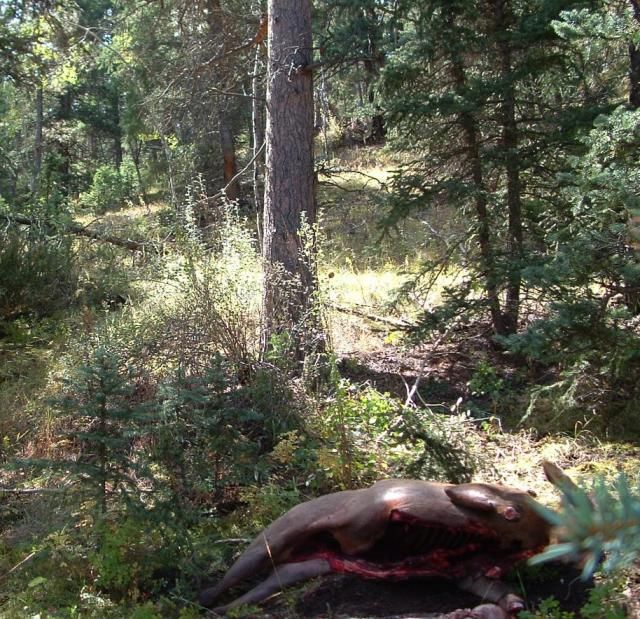
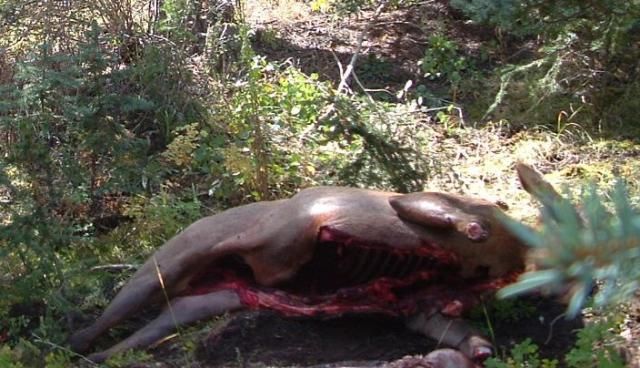
now the work begins...this Cow Elk slid down hill about 80 yards...but still about 1/2 mile from my cooler...getting the meat into smaller chunks asap is essential...especially when it September or October in the Rockies when it can get up to 70 at just about anytime...I had a Ranch tag for this Cow...I nice bounty for my wife and I!
lots of places I hunt dont allow anything but horses (and that is w/ permit) to assist in packing out game...so boning out meat on the spot really helps get the weight down, and actually make you life a lot easier all the way around...
Hides( unless you keep them like me), bones and uneccasary body parts that arent eaten can be left for the critters out in the wild...
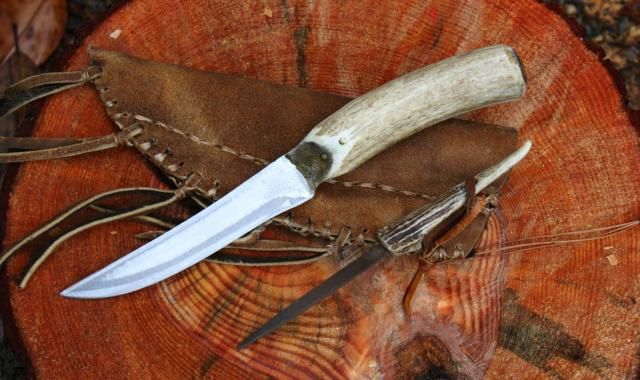
I also like to do things simple...and keep costs down...this project cost me about 50 cents worth of sinew and about 1 oz of two part epoxy...the rest was all just scraps laying around and an old BBQ knife blade I cleaned up...of course you could buy a cool blade for this...or recycle an old one you have...but the idea for this was a blade I can file sharpen easily...and something pretty stiff...the blade in the pic is 6 &1/2" long...
this is not meant to be a knife for general purposes, but made specifacally for boning...I like a stiffer blade for Elk since some of the sections are pretty big, and a more flexible blade can be a bit unruly...also this blade gets nice and sharp easy with some strokes of s mill file, just like I use for broadheads...
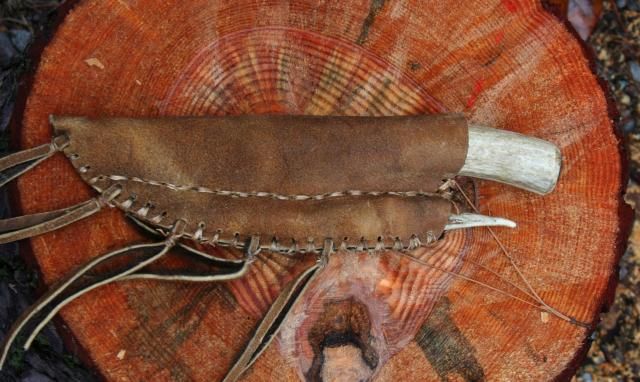
here is a materials list...
a mule deer or elk shed...White Tail would be fine too...
...about a square foot of heavy leather
...sinew for stitching the sheath
...a broadhead file and a antler tip for a handle
...some clear drying two part epoxy
...two brass pins(or even trim nails)
...a large knife blade...I used one from an old BBQ blade, but you can buy cheap a good blade at Wal Mart for under 5 bucks...
after cleaning up the old blade I measured how much of a slit to cut in my antler handle...I also figured out a length etc of how big I wanted it...something comfortable for my grip etc.If you arent sure, just copy another knife you might have to get an idea...
then I located where to drill out for two anchoring pins...I had some old brass laying around, but anything will work...
then I do a "dry" shaping of the whole deal, making sure all the pieces have the right blend and angle ...the pins stick out a boit over the antler at this point...
then I epoxy the metal blade in the antler and tap in place the pins...I also cover the pins w/ epoxt too, trying to be a bit neat so that antler isnt covered w/ excess epoxy...
after it dries I grind off the pins carefully, and blend the antler to the blade...
with Mulie and Elk antler sometimes the inner core can be pretty porous ...meaning there is lots of air in them...White Tail not so much...
I take my dremel and cut out a section at thebrear of the antler handle and make an as close to perfect circle as I can, about 1/2 inch deep...
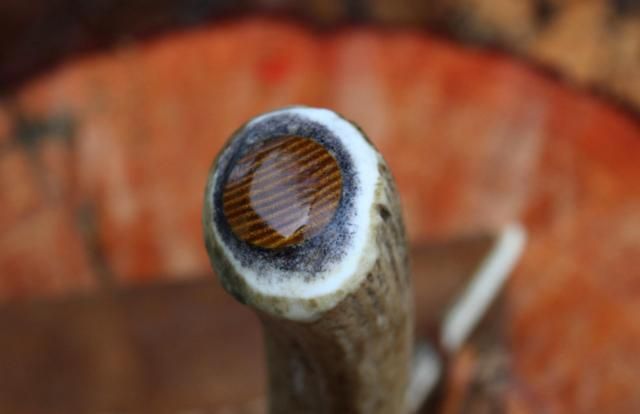
then I took a piece of osage I also use for but caps on the bamboo fly rods I make, and fit it for a good fit. You can do all kinds of cool things for this detail...a piece of turquoise is a favorite of my Apache Hunting Bro..(who has also been a major inspiration on all my gear resemblig Native American items...
then U stick the knife in something so that the butt is leveland the handle is aiming down( I likemy blocks of frewood befoe spliting)...I then mix up about a shot glass of 2 part, I like the kind that sets in 15-20 minutes for this. I also cover the blade w/ some masking tape ( this will make sense later)
I gradually pour down in the hole I created the epoxy until it starts to come out the other end around where the pins and handle meets that blade...help this out a bit to smooth out the epoxy a bit on the concave cut of the antler to make sure its even etc.
right before it "kicks" stick in the cap you made and make sure it has epoxxy under it too...then tap it in good.
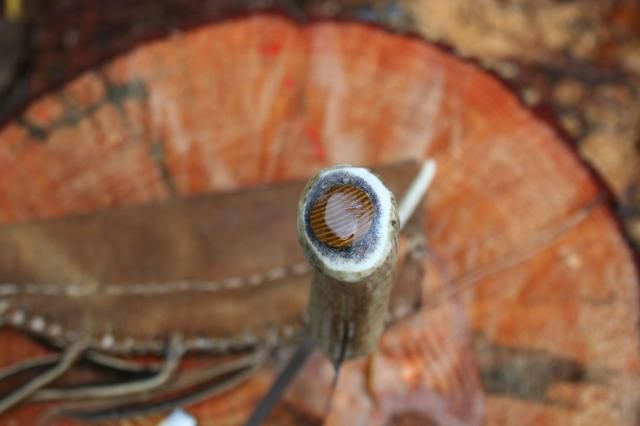
when this is permeated through all the little canals of the antler w/ epoxy it is plent strong...and also hold on the blade better when torquing through a Big Critters carcass...
after its all dried up good I grind off the butt smooth and also clean up the concave cut and make it look nice.
I like to sharpen up the blade at this point just to see how it came out and works. What I lkie to cal "gazng time"...LOL...
after Im sure its all good I lay out some heavy leather...I used some Buffalo I had...I also made up a little minitature version of the blade for my 4" mill file I use for sharpening.
I layed out the two together and shaped a sheath holding them both...I use some small clamps to test the fits before punching holes and stitching...once its all good I punch and stitch away...
having a file as part of the rig is essential...since periodic sharpeneing takes place during a boning session...
this is a part of my hunting pack...once the basic dressing and skinning is done with my blade just for that , I switch to this one...along with some big trash bags and white pillow cases for wrapping up the 15-25lb size cuts I make of the big critter, I also have a small saw & hatchet for helping out too...I have never harvested a Moose, but Im sure this rig would just as valuable as it has for Elk for me...
all the best...ted


