Author Topic: Starting Second R/D Glass Bow  (Read 433 times)

Offline matts2

  • Trad Bowhunter
  • **
  • Posts: 306
Starting Second R/D Glass Bow
« on: April 13, 2011, 11:54:00 PM »
Got out the glue this afternoon and put together my second attempt at a glass R/D bow.  Learned a lot on my first one and already learned a lot on this one.  

Trying a couple things different on this one.  First is all parallel lams.  Call it lazy, but I got curious and just wanted to try it.  This is going to be a light weight 35-40 lb bow that will be for my dad or my wife.  See how it turns out.  If it has any defects, it goes to the wife.

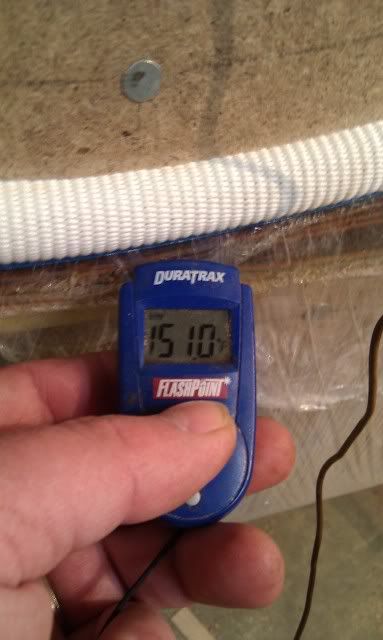
Another thing I am trying out is my new set of heat strips from Kirk.  They worked real slick and I am very happy with them.  Although I might have screwed things up by forgetting I had the heat turned up to high and let it sit to long.  Call it a rookie mistake, I got distracted with doing 3rd grade homework.  The high heat did cause some issues with the seran wrap bonding to everything.  It also made the tape on the glass almost bond to it.  That took forever getting the tape off.  It was all my fault.

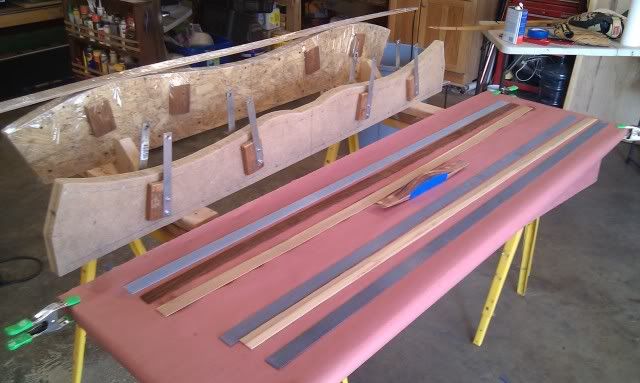
Here is how I set up the heat strips.  I took two pieces of mahogany cut longer than my form.  I did this so the mahog would support the cord and heat strips as they stuck out of the form.  
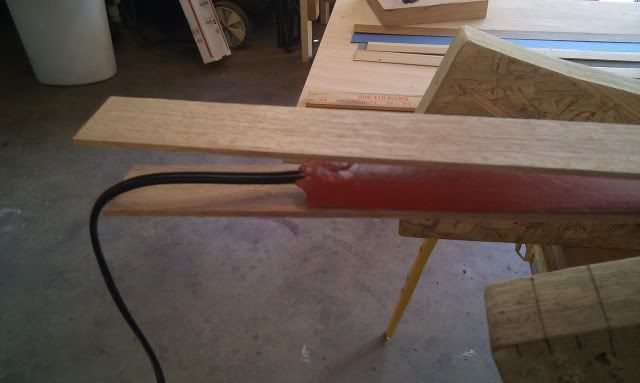


Now everything is laid out and ready for glue.
 

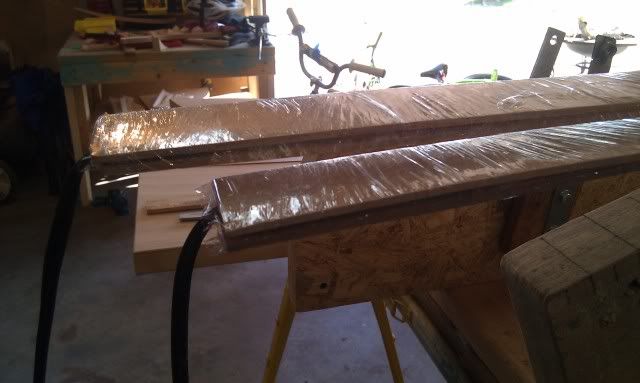
Glued up and in the form.  Heat strips are turned on HIGH to get everything up to temp.  After a little bit I went to check temp and it was already up pretty high.  This is where I forgot to turn down the heat.  
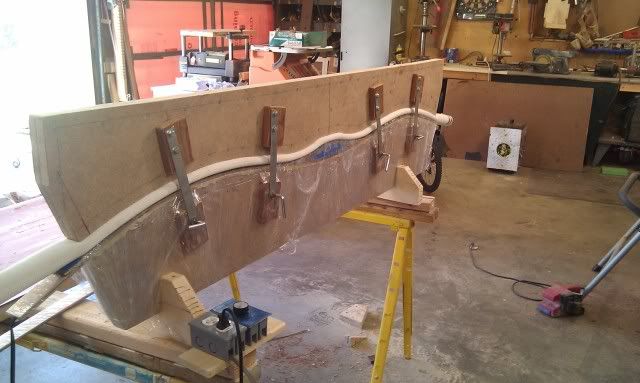


After talking with Kirk on the phone, I realized I had the heat on to long (two hours).  After it cooled for a bit, I was able to get it out.  Not easily because of what I mentioned above about the saran wrap gluing everything together.  It took a while getting it out of the form and then longer just getting the tape off.  Rookie mistake and won't happen again.  Maybe.

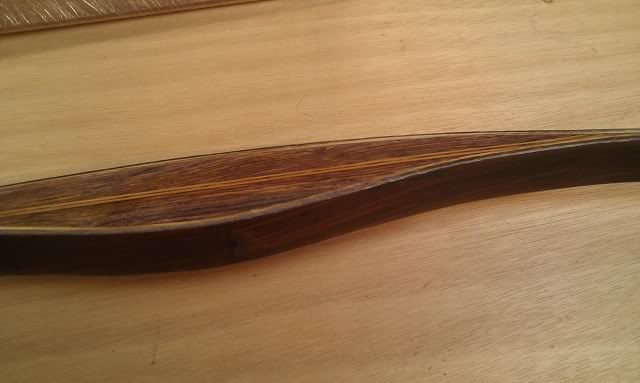
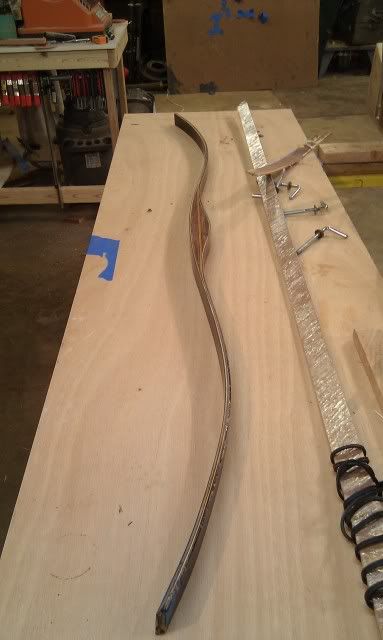
Here is where it lies now.  Needs a few inches cut off for a 64" NTN and limbs shaped.
 
 
Matt

Offline Johnny_Cash

  • Trad Bowhunter
  • **
  • Posts: 28
Re: Starting Second R/D Glass Bow
« Reply #1 on: April 14, 2011, 12:11:00 AM »
Looking good!  I really like the R/D design and I'm curious to see the finished product.  Keep the pics coming.

Offline matts2

  • Trad Bowhunter
  • **
  • Posts: 306
Re: Starting Second R/D Glass Bow
« Reply #2 on: April 14, 2011, 08:42:00 AM »
Forgot to mention it has Coco riser and Coco belly with Elm and glass core.
Matt

Offline bjansen

  • Trad Bowhunter
  • **
  • Posts: 2263
Re: Starting Second R/D Glass Bow
« Reply #3 on: April 14, 2011, 01:35:00 PM »
Excellent!

Online jess stuart

  • Trad Bowhunter
  • **
  • Posts: 1722
Re: Starting Second R/D Glass Bow
« Reply #4 on: April 14, 2011, 05:38:00 PM »
Well done.  Sorry I couldn't resist.  Seriouly though, very nice looking bow bet it will be a great shooter.

Offline matts2

  • Trad Bowhunter
  • **
  • Posts: 306
Re: Starting Second R/D Glass Bow
« Reply #5 on: April 14, 2011, 09:41:00 PM »
Got to start shaping it tonight.  Limbs cut and almost tillered.  Still needs a bit more but I could wait to see what it was going to look like so I started sanding the riser.  

Here is where I left off on the tiller.


Jumping ahead a few steps, like I mentioned, I just wanted to see what it would look like. So I started shaping the riser a bit.  Didn't do all the shape, but just enough to get an idea.

Oh ya, one of my new favorite tools.  This thing makes sanding so much easier.  Picked up this pneumatic sanding drum.  Works great.


wiped some oil on this to see how it looks.


Went ahead and glued up the tips with some horn and a couple pieces back of the riser.  


Matt

Users currently browsing this topic:

0 Members and 1 Guest are viewing this topic.
 

Contact Us | Trad Gang.com © | User Agreement

Copyright 2003 thru 2024 ~ Trad Gang.com ©