Author Topic: 62" One piece recurve Follow along(I replaced some pictures on page 4,Satin finish)  (Read 1661 times)

Offline Mad Max

  • TG HALL OF FAME
  • Trad Bowhunter
  • *****
  • Posts: 6565
A while back I bought the plans from Jim Thorne's Build your own bow 62" take down.
I modified it to a one piece, and I have always liked the look of the glass cut out on the back of the riser.
It will look like a take down without the bolts.
I  will also do a footed riser. I am going to use black phenolic 1/16" for the riser.
I'am shooting for 35@28
I had some Curly Walnut and Koa from a build before. So walnut lams and walnut and Koa riser.
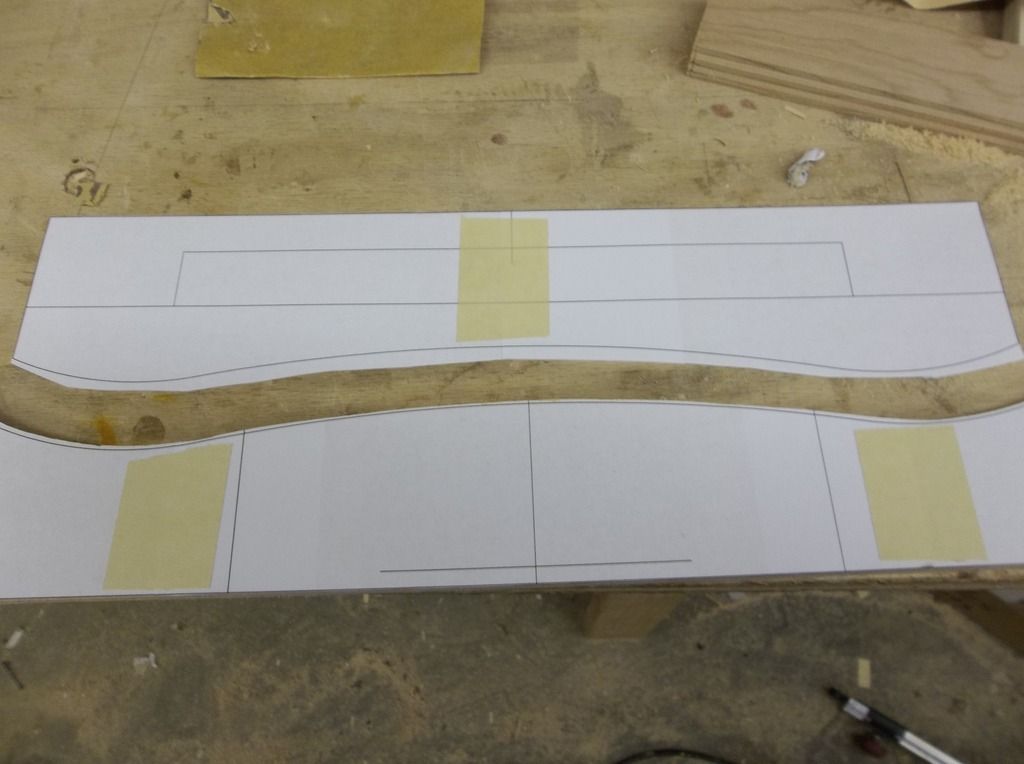
I drew it up on the cad program a printed the footed riser templates.
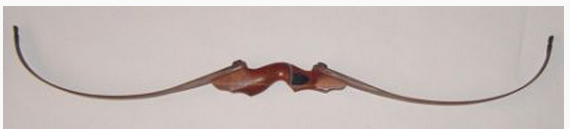
Here a picture of jim's bow.


Here is the top half of the riser template, but I started with the bottom template.


I glued the Paper template to some 3/4" plywood and started sanding to the lines. back and forth checking the fit.
no laser cut templates for me.
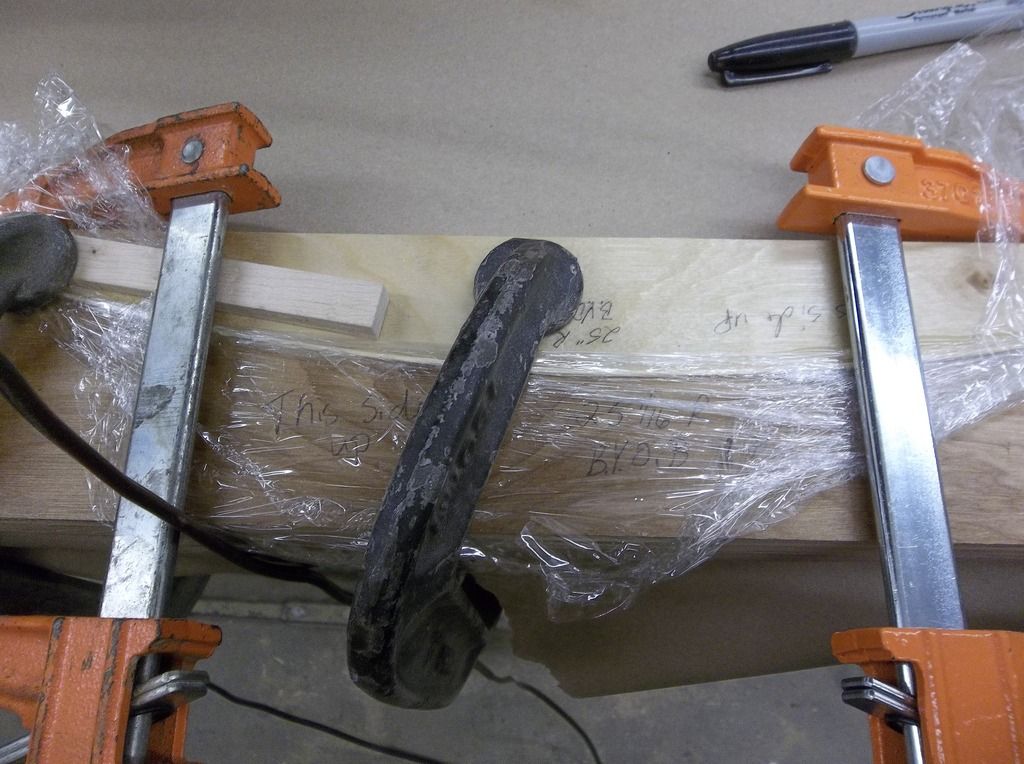
I sanded a piece of scrap wood to 1/16" for the templates.
So I got it as close as I could and wrapped my 1/16" piece and buttered the wood templates with smooth-on and clamped it all together for a day.
The glue will fill the voids I have.
I also have to mark the templates THIS SIDE UP and the riser wood also.


The dry run looks really good, so I sanded my riser woods with the pattern sander and my new templates and  glued it up
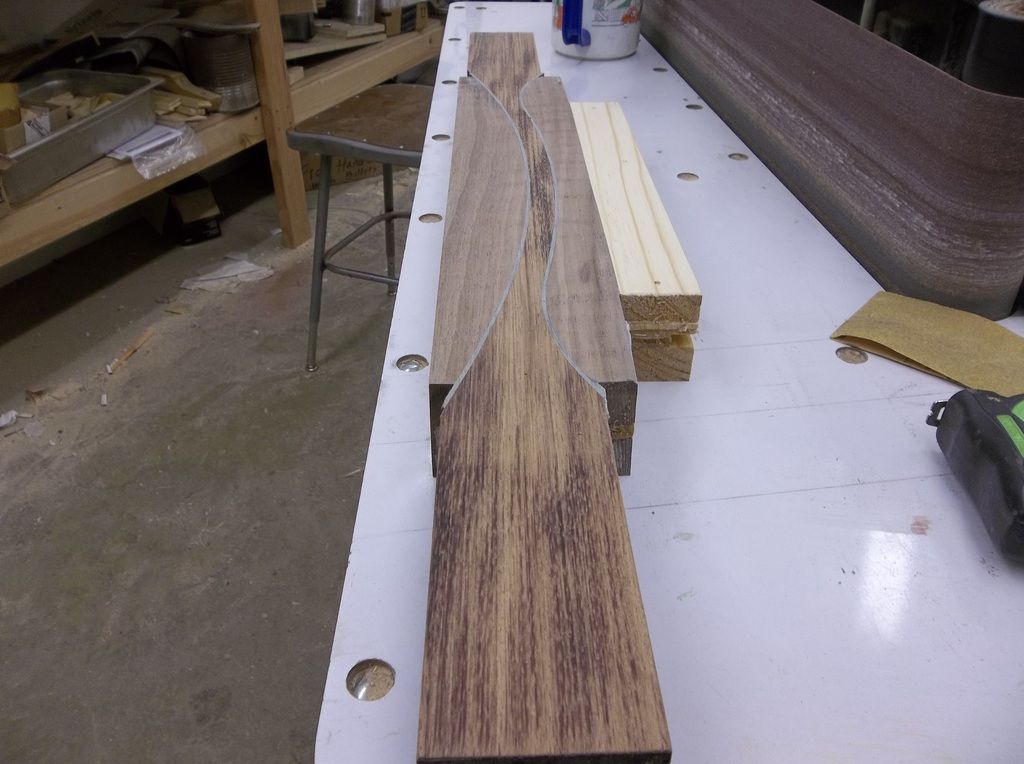
The wood is curly Walnut and Koa


The top piece is the walnut and Koa cured and thickness sanded. And the bottom is the rest of the walnut.
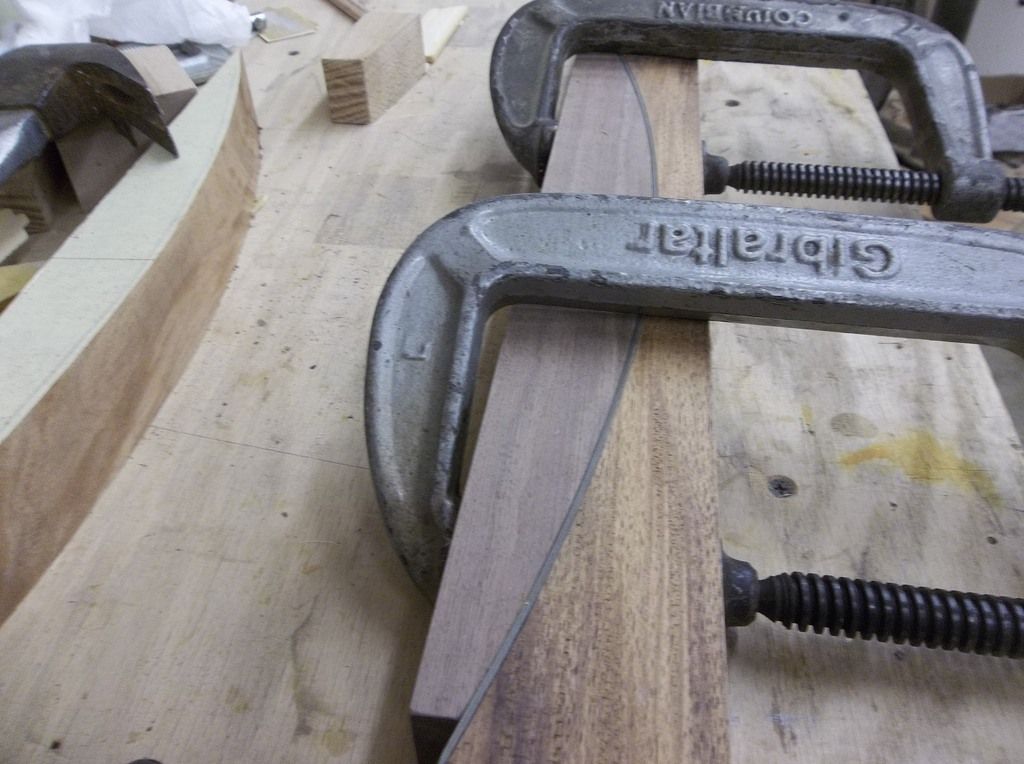
I made the second riser template same as before.
I traced the lines and to the bandsaw to rough cut it.

 [url=http://http://http://http://http://http://http://s1293.photobucket.com/user/osagemark/media/BYOB/100_0756.jpg.html]      


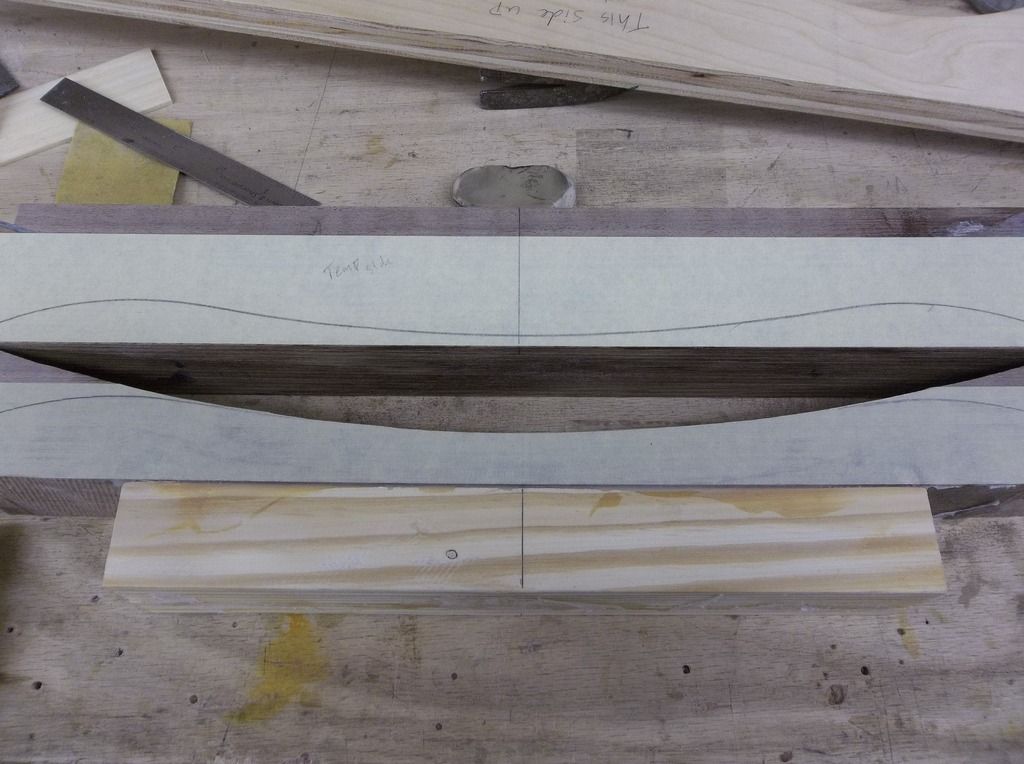
I thought I had more pictures but here it is all glued and thickness sanded.
I did not have enough walnut so I glued some Pine  on top.
All the pine will be cut off after the bow is glued up. more on that later.
While this was going on I made the form for the bow

      [/url]

Going hunting
I would rather fail at something above my means, than to succeed at something  beneath my means  
}}}}===============>>

Offline Horn Chaser

  • Trad Bowhunter
  • **
  • Posts: 221
Look forward to following along.

Offline Trux Turning

  • Trad Bowhunter
  • **
  • Posts: 1814
X2 I always enjoy a build along!

Offline Mad Max

  • TG HALL OF FAME
  • Trad Bowhunter
  • *****
  • Posts: 6565
me too
I would rather fail at something above my means, than to succeed at something  beneath my means  
}}}}===============>>

Offline EwokArcher

  • Trad Bowhunter
  • **
  • Posts: 332
Looking forward to the finished product thanks for keeping us posted!

Offline KellyG

  • Trad Bowhunter
  • **
  • Posts: 4249
YOU GOT ME mark. I seen 62" osage and thought man another great self bow under way and a re-curve to boot.

But you guys and your glue do make some sweet looking bow porn.

Online Roy from Pa

  • Administrator
  • Trad Bowhunter
  • ****
  • Posts: 20646
Looking good, Mark..

Offline Bowjunkie

  • Trad Bowhunter
  • **
  • Posts: 2324
I like buildalongs, all of em.

Offline monterey

  • Contributing Member
  • Trad Bowhunter
  • ****
  • Posts: 4248
This is going to be fun.
Monterey

"I didn't say all that stuff". - Confucius........and Yogi Berra

Offline takefive

  • Trad Bowhunter
  • **
  • Posts: 1098
Nice!  I'm following...
It's hard to make a wooden bow which isn't beautiful, even if it's ugly.
-Tim Baker

Offline Mad Max

  • TG HALL OF FAME
  • Trad Bowhunter
  • *****
  • Posts: 6565
Thanks guy's
I would rather fail at something above my means, than to succeed at something  beneath my means  
}}}}===============>>

Offline Mad Max

  • TG HALL OF FAME
  • Trad Bowhunter
  • *****
  • Posts: 6565
I got my lams tapered last night.
The lams need to be 3-5/8" longer to make it to the center of the riser .244 stack for the take down .254 for the one piece. .003 total taper.
I lined all the but ends up and made a mark on the sides of the lams, my belly lams don't go to the middle of the riser so the lines will let me know how much to cut off the butts, more later on that.
I got the back lams butts feathered and glued butt to butt.

I cut my riser template and sanded as close as I could get.
Clamped down the back glass and taper lam.
I had to put some blue tape in key places to hold the lams down. Also marked the center line on the template


Dry run looks good so I buttered up the template like before with smooth-on and clamped it down on the bow form.
That's all for today
 
I would rather fail at something above my means, than to succeed at something  beneath my means  
}}}}===============>>

Offline Wolftrail

  • Trad Bowhunter
  • **
  • Posts: 1152
Looks good just started using Black walnut great stuff to sand; quick and painless.    :)

Offline chackworth3

  • Trad Bowhunter
  • **
  • Posts: 580
Looking forward to this

Offline bigbob2

  • Trad Bowhunter
  • **
  • Posts: 2160
having made several of Jim's classic takedowns, i will be watching this with interest. They are a nice bow both in performance and appeal.

Offline Mad Max

  • TG HALL OF FAME
  • Trad Bowhunter
  • *****
  • Posts: 6565
Quote
Originally posted by bigbob2:
having made several of Jim's classic takedowns, i will be watching this with interest. They are a nice bow both in performance and appeal.
With the riser and end of limb wedge is 18" of working limb each side. I think the performance will be nice.
I would rather fail at something above my means, than to succeed at something  beneath my means  
}}}}===============>>

Offline Mad Max

  • TG HALL OF FAME
  • Trad Bowhunter
  • *****
  • Posts: 6565
I got started early today
I got all the buggers cleaned off the riser template and made a tracing template too. Jim"s take down Limb wedges are  .080 per inch and the end of wedge to end of wedge is about 26" so I cut the Riser to length and ran it through the pattern sander


A dry run on the riser Looks really good, so I cut the belly ramps


See the marks at my thumb, That lines up the butt ends of the lam's to keep the stack right. I have plenty on the belly butts to cut back. But first taper the ends of the riser. I made a mark every 1/2" and sanded to the numbers .040,.080.120 ect.


I cut the butt ends off and drilled a pin hole into the edge of the riser to keep the belly lams from slipping.

The dry run looks good so it's time for glue up.
That's all for today.
 
I would rather fail at something above my means, than to succeed at something  beneath my means  
}}}}===============>>

Offline BenM

  • Trad Bowhunter
  • **
  • Posts: 321
Looking good.

Offline scottm

  • Trad Bowhunter
  • **
  • Posts: 775
Looking great!

Offline EwokArcher

  • Trad Bowhunter
  • **
  • Posts: 332
I really appreciate the effort you are putting into this build along, it is a great reference as I'm currently putting together my first binghams bow and form.
Question for you. I see that you have some spacers on your steel plates that are holding your form together,  my form ended up about 1.75 inches in width secondary to the plywood I used, would it be advisable to not use spacers on when I put my bow on the form for lamination?

Users currently browsing this topic:

0 Members and 1 Guest are viewing this topic.
 

Contact Us | Trad Gang.com © | User Agreement

Copyright 2003 thru 2024 ~ Trad Gang.com ©