crafting excellent woodies the easy and cheap waythis pictorial will show me making up a dozen woodies using basic tools and materials, and including a basic primer on arrow fletching.
there are lots of good ways to build wood arrows - this is just my most favorite method.
can't skimp on the wood, it pays to buy premium shafting.
surewood douglas fir is my fave - very strong and straight from the get-go. these 11/32" shafts are a full 32" in length, are 55/60# spined and in a 390 to 400 grain weight range.
unlike carbs, where there is a large dynamic spine range (35-55, 55-75, etc), woodies have narrow spine ranges and they are very sensitive to how you shoot. there is no substitute for trying a range of spines and making a selection based on personal performance.
for newbies getting their feet wet in woodie building, my strong advice is to get a test pack of surewood doug fir woods in either 6 spine ranges of 2 shafts each, or 4 spine ranges of 3 shafts each. make up one bare and one fletched arrow for each spine, test them with yer bows. also have on hand different point weights, say from 125 to 200 grains (or more), then using hot melt glue you can swap out point weights to weaken or stiffen the arrow spine. all this testing is gonna make matching woodies to yer bow SO much easier, and get great flying arrows ... promise!
surewood doug fir test paks
whatever wood you buy, it would make sense to insure they're as straight as can be before working on them. i roll each shaft on a flat surface (corian kitchen counter top) and if there is a high side, i'll hit it with high heat from a hair dryer or low heat from a paint stripper heat gun and compress that high side using either the rounded shaft of a screwdriver, or a hook (big eye screw screwed in a piece of 1" dowel) or my fave, the groove section of a steel guitar slide ... 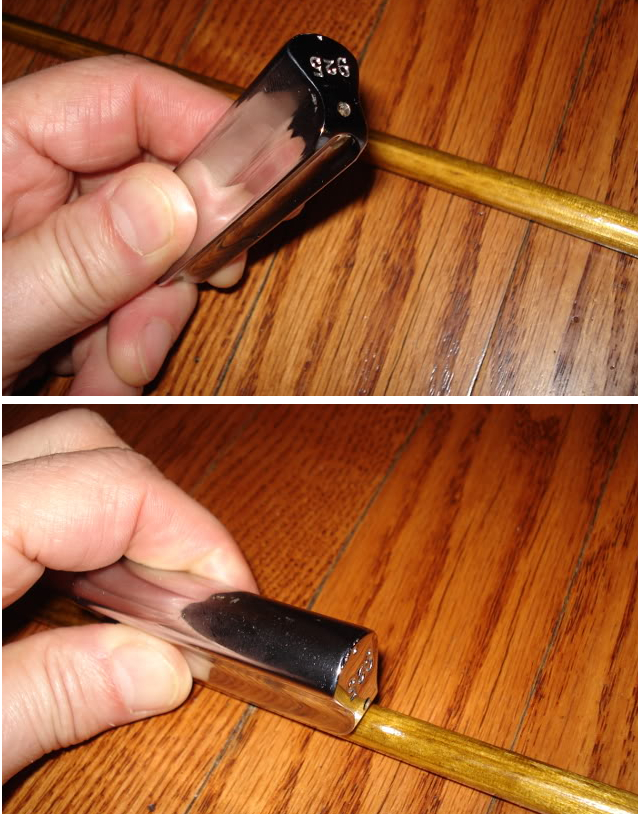
curt "guru" has an excellent how-to article on
wood shaft straightening. for each shaft, mark the grain orientation with a pencil - that is, noting one side that has vertical grain when looking at the end of the shaft. it's the vertical grain that needs to touch the side plate of the arrow shelf because that's where the shaft is spined and strongest. either end of the vertical grain will do. no spine meter required.
either end of the shaft could be for the nock or point. if the shaft has 'run out', where you can see a grain 'feathering' on one or more sides of the shaft, orient the shaft so that these 'feather(s)' point *toward* the nock end ... 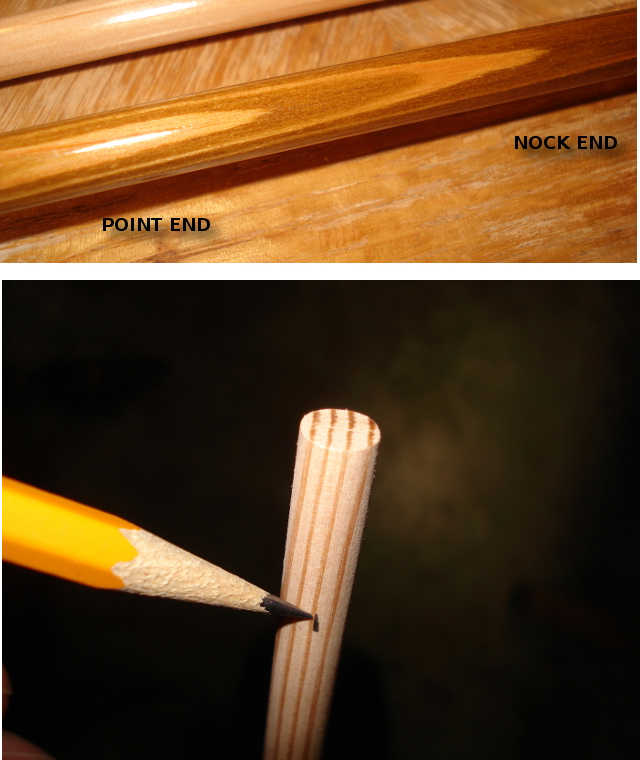
get yerself a shaft tapering tool. a cheap 'pencil sharpener' type will get the job done just fine. this one i'm using is a more expensive bear paw tapering tool, but it doesn't do any better a job than a cheap plastic one. i also use a tapering guide for my disc sander - they're easy to make and work well, too.


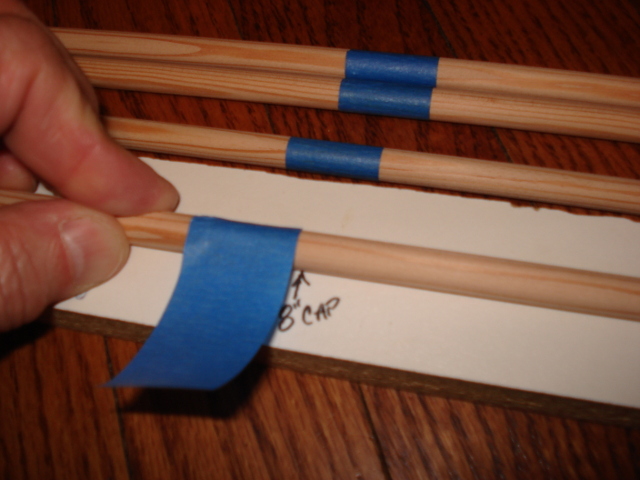
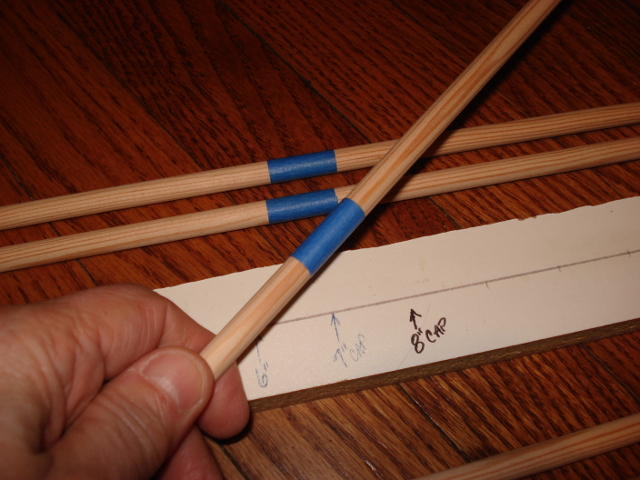
get a slat of wood about 32" or so long. tap in a finishing nail at one end. about 8" or so down from the nail make a mark on the wood. if you want to cap the arrow, use this mark as a reference point to lay down a layer of painter's masking tape (1/2" to 1" width) to separate the cap area from the foreshaft. the arrow nock is NOT glued on - just stuck on so that you can get an accurate cap/crest area mark. note that this is entirely
optional. here's how that's done ...

