I’ve had a few e-mails asking how I did my “A” Riser after I posted some pix of it.
I need to give credit to Jim Brandenburg for posting his refinish project.
I had saved his thread for reference.
http://tradgang.com/cgi-bin/ultimatebb.cgi?ubb=get_topic;f=14;t=003631;p=1 First I took off every piece of hardware and anything not to be painted.
I wish I would have taken more photos of how I did things as I wasn’t sure how some items would come out. The rubber pads the limbs seat against in the limb pockets as example. I wasn’t sure if they were glued in or molded somehow. I pried on one with a small screwdriver and it popped right out.
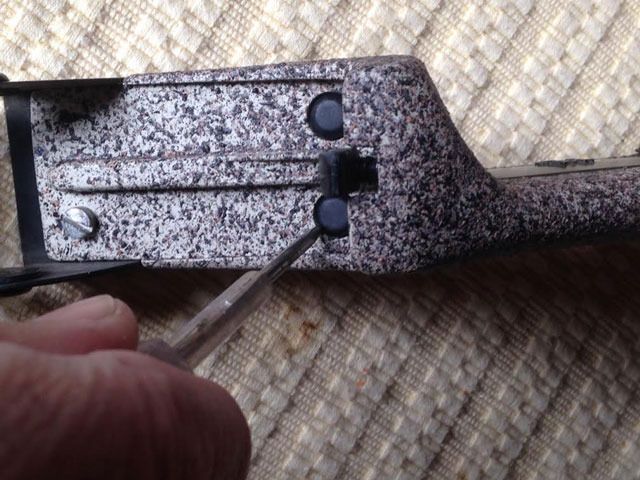
The tiny roll pin the latch hinges on needs to be tapped out with a small punch and light hammer. I used a broken 1/16th drill bit I squared off on a grinder. The thin ribs that support the pin could crack or break so be careful.
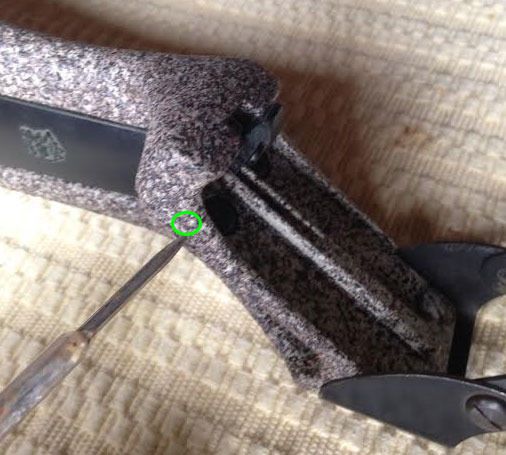
After I had everything taken apart I used a small sandblaster at work to take off the paint.
I found some old screws to fit all the holes so I wouldn’t damage or get grit in the threads. (I left these in thru the whole process)
I was just about finished when the sandblaster quit. I had a few small spots of original paint I had to scrape off. I also narrowed the shelf a bit with a file and sanded smooth.
To get rid of dust after blasting I just cleaned with soap and water and wiped dry.
I couldn’t find any zinc phosphate primer Jim mentioned in his post. I settled on the epoxy primer after talking with the clerk at a Auto body supply store. It cost $27 CDN. I gave the riser two coats. You can see the light tan colour at the top of the can which was the color of the primer.
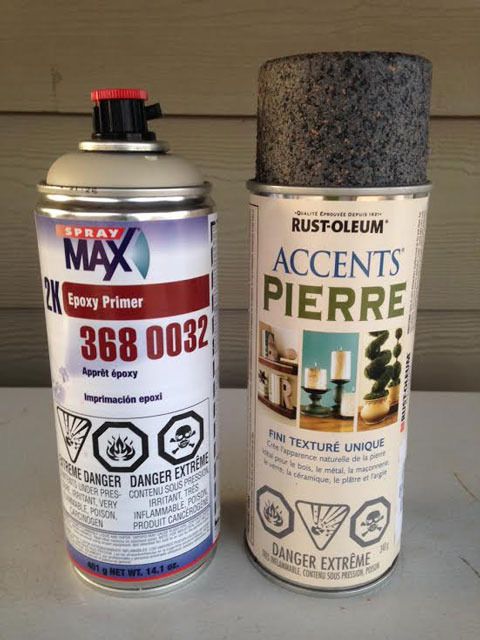
For the main color I used Rust-Oleum Accent paint found in a local hardware store. It cost about $10. The colors are visible on the cap. I picked one with some brown in the pattern which would match the brown glass of some new Rose Oak limbs. It was a bit dark but I thot the lighter primer would enhance it.
After the primer dried for 24 hours I sprayed a coat of the Texture paint. I could tell it would take a few light coats to make it stick properly. I did a bit at a time over a few hours. The next day I touched up some missed spots and let dry for another day.
I took out the old screws and put everything back together. I had some replacement screws for the sight plate. I found them at a nut & bolt supply store. They have a little larger flat head and are snugged down with an Allen wrench instead of Phillips screwdriver.
more to come...


